Alpine Linux is one of the few Linux distributions out there that stands out of the crowd.
First, Alpine is an independent Linux distribution, not a derivative of any other popular option.
Second, it uses OpenRC as the init system. So, if you are someone who is not a fan of systemd, you can surely consider this one.
Third, it uses BusyBox by default, which is an interesting choice.
Now, Alpine is immensely popular as a container distro because of its small form factor. The base docker image is hardly 5 MB, making it an attractive choice.
But it doesn’t mean that you can only use Alpine with Docker or it only has to be in the the server format.
In this tutorial, I’ll share how you can install Alpine Linux with Xfce desktop in VirtualBox.
Sounds exciting? Let’s go.
Table of Contents
Step 1: Download Alpine Linux
Alpine Linux provides several options to download. Here, I downloaded the x86_64 Virt ISO that is made for virtual machine setups. It is around 60 MB in size. You may also use the standard edition which is ~200 MB, and an extended ISO, nearly 900 MB in size.
I have used the Virtual Machine edition since I am installing it in a VirtualBox VM.
Step 2: Setup VirtualBox VM with Alpine ISO
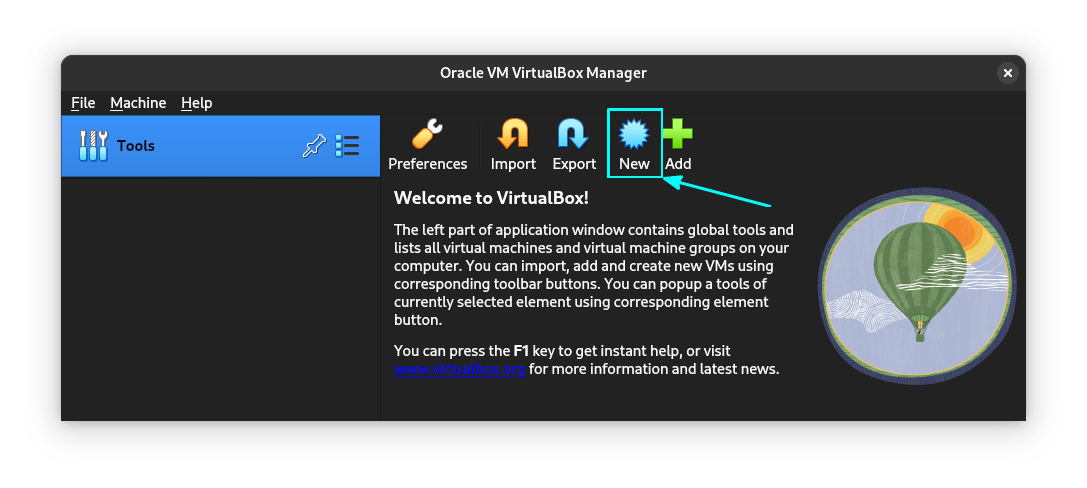
Open VirtualBox and click on the “New” button to start creating a New VM.
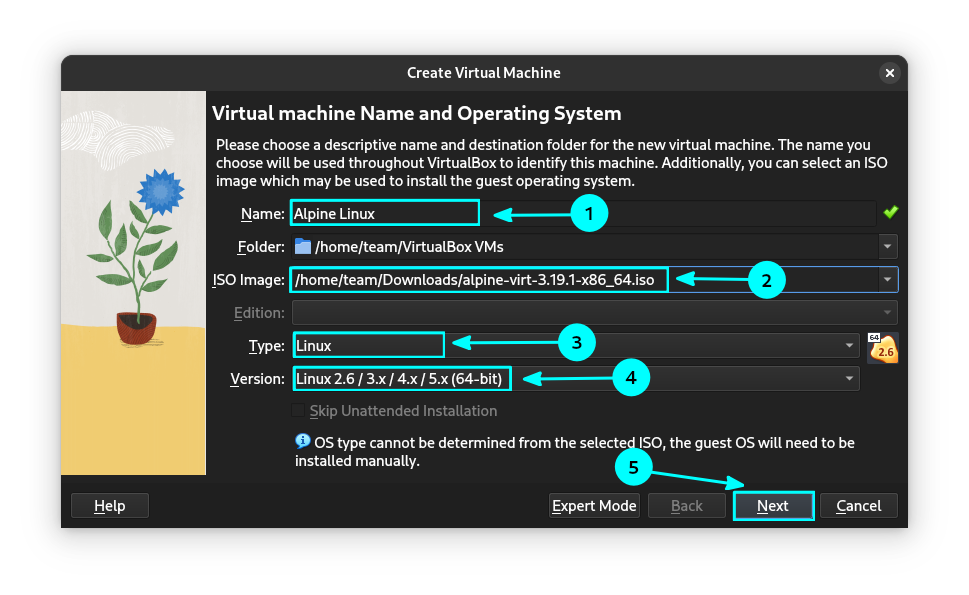
Now, choose the Guided Mode and Set the following:
- Name: Alpine Linux
- ISO: Choose the Downloaded ISO
- Kernel: Other Linux kernel 5.x
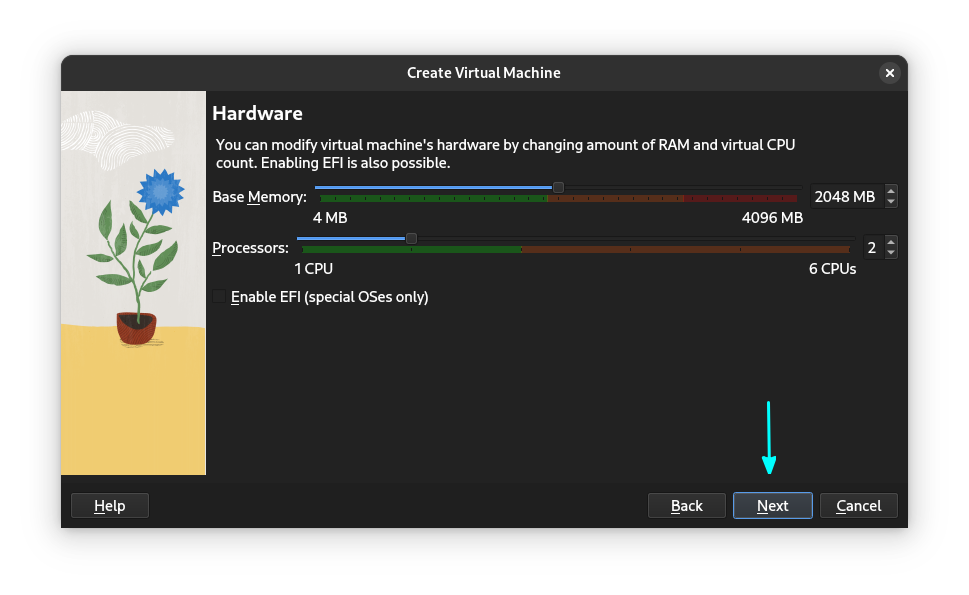
Click Next. On the next screen, allocate some RAM to the VM. Usually, 2 GB is enough for Alpine, but if you could, give it 4 GB of RAM. Also, allocate some processors. Here, I have assigned 2 processors. Click Next.
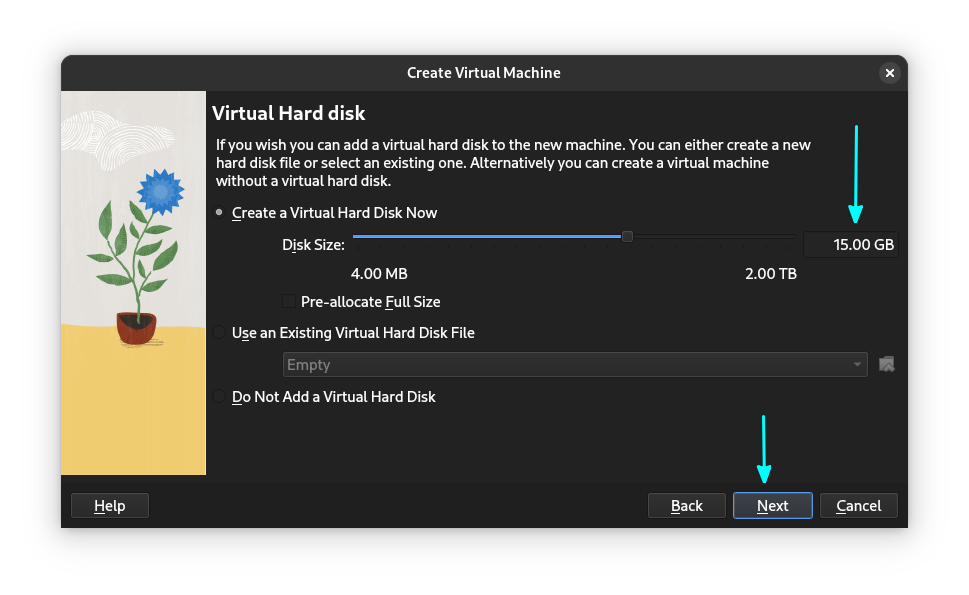
On the next screen, you need to provide the storage space. You can either go with the requirement or a bit extra for efficiency. 25 GB will be more than sufficient for a test virtual machine. Change according to your need.
Clicking Next will give you an overview of the settings. Click the Finish button here.

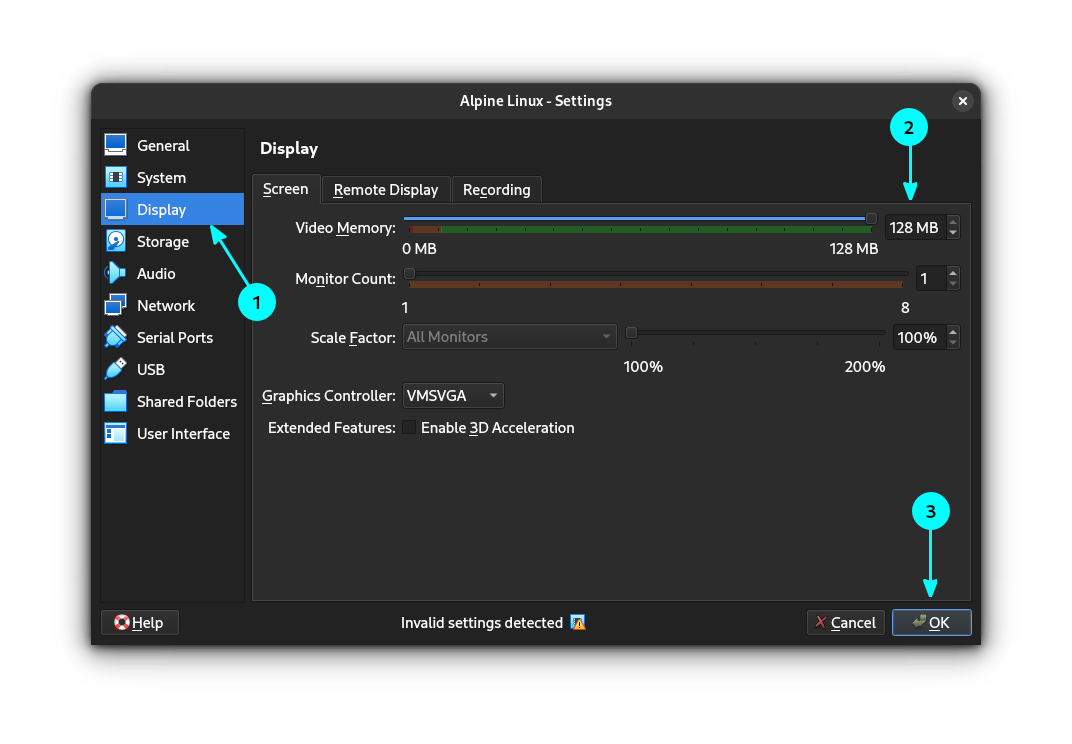
Now, select the machine, right-click on it and select the Settings option.

Select the Display tab and put the display memory to max (128 MB). Click on OK after this.
Now, start the VM by double-clicking on its name.
Step 3: Text-based Alpine installation
Alpine installation is text-based. Yeah! It gives the Arch Linux vibes, I know.
When the machine starts, you will be prompted to log in. Just type root and enter. The default root user has no password. You will be ready to install the system now.

Start the text-based installer
Once logged in as root, enter:
setup-alpineThis will start the installer.
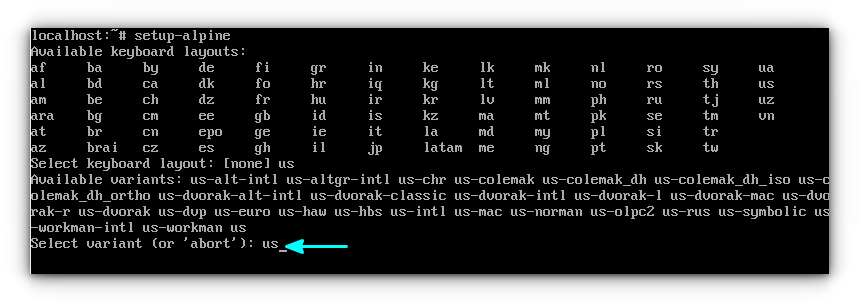
Keyboard layout
You need to select the keyboard layout. Here, I have chosen “us”. It will ask to select the variant in US keyboard. I again enter “us” as the option.
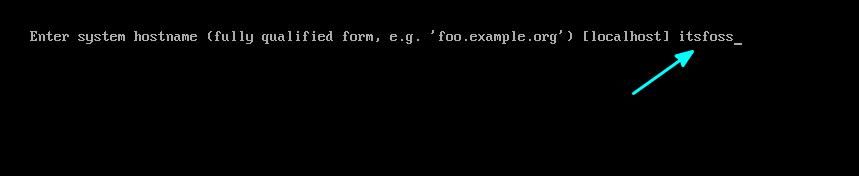
Hostname
Enter a hostname of your choice. The default was localhost. And then press enter.
Interface selection
Installer will ask for the network interface selection. Since, it selected the default for me, I will press Enter key. If you have other interfaces, you can select “?” for help. For VirtualBox, the default is enough.

It now asks to set the IP. I am going with the default DHCP. Also, no further manual settings.

Root password
As I mentioned earlier, the root account has no password. You have to set it up for the security purpose.
You need to type and retype the root password in this step. Needless to say that nothing is displayed on the screen when you type the password. Just type it and press enter.

Timezone settings
You need to select the timezone. The default is UTC. Press “?” for listing the available timezones. As you can see, I have set it to Asia and then pressed enter.

Subsequently, you have to set the region. Like before, press “?” for listing all the available area in the given timezone. I have selected Kolkata.

Proxy settings
If you have any HTTP proxy, enter it at this stage, I had nothing, so I skipped the step by pressing the Enter key.

NTP client
Select which NTP client to run. I am once again going with the default chrony.

Mirror selection
The next screen is about the mirrors. You can view several lines of mirror list. Press R to view all. Now, you need to press “f” and enter to automatically analyze and save the fastest mirror from the list.

This will analyze and do the rest for you. Wait for a couple of minutes.
Set up a new user
You will need an additional user besides the root, for normal use cases. You can create it here, right within the installer, to avoid difficulties letter. For this, you need to enter a username (all small letters), full name for the user and type and retype the user password.

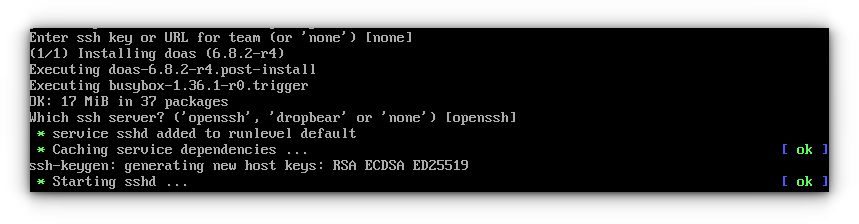
Some SSH Settings
Next is some SSH related settings, and I have chosen all the default options, by just pressing the enter key.
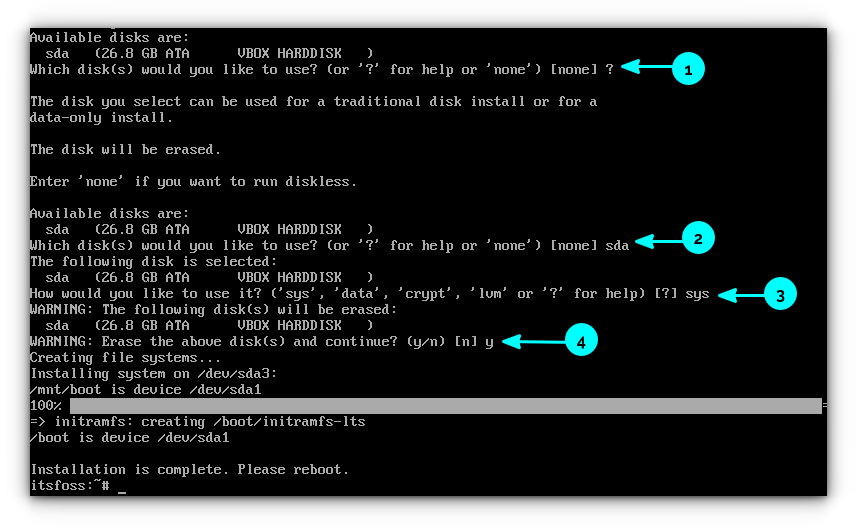
Partitioning the Disk
This step is important, as it decides the installation of the system. You need to partition the disk. It will list the available disk, and you can enter “?” for help.
Then select the disk that needs to be used by name. In my case, it is the SDA, with the storage space. This will ask how to use it. You have several options like “sys”, “data” etc. For normal use cases, you need to select the “sys” option and press enter.
It will then show a warning about erasing the data. Press “y” and enter.
After some time, you will get a notification that the installation is complete.
You can either reboot the system here. But I will shut down the system using:
poweroffThen, remove the attached ISO and start the machine again to avoid booting into the live ISO.
Step 4: Post-install set up
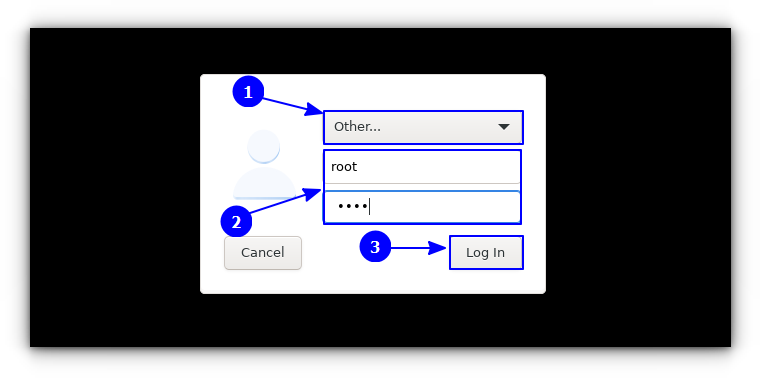
Now, you have installed the base system, but there is no desktop installed. So, you will be logged into the console again. You will now set up a minimal Xfce desktop and LightDM display manager for our Alpine Linux installation.
So, after booting into the system, login as root. Just use the username as root and enter the root password you have set during the installation.
Ensure superuser privileges
You need an editor for editing some config files. Since Alpine is a minimal set up, you need to install an editor first. Install Nano editor using:
apk add nano💡
In Alpine Linux, you have doas instead of sudo. But that is not used here because you are running as root.
First, make sure that the default user is added to wheel group. For me, it was added automatically. To check, run:
groups <your-username>This will list the groups your user is currently in. Look for the word “wheel”.

If not, you can add by using the command:
adduser <your-username> wheelNow that the user is added to the wheel group. make sure the wheel group has its privileges by checking for the following line in /etc/doas.d/doas.conf
permit persist :wheel
If not, edit the file using:
nano /etc/doas.d/doas.confBy default, Alpine Linux does not have the community repository enabled. But you should have this to install more packages. So, edit the repositories file using:
nano /etc/apk/repositories
Now, uncomment the line that refers to community repositories, save and exit.
Step 5: Install Xfce desktop
Before installing the Xfce desktop, you need to make sure that you have xorg-base set up. For this, Alpine Linux provides a neat way. Run the code below:
setup-xorg-baseThis will install the required packages for you.
Install Xfce and LightDM
Now, you need to install the Xfce and related packages. I am going to use the LightDM Desktop Manager. So, run the command below to install.
# apk add xfce4 xfce4-terminal xfce4-screensaver lightdm-gtk-greeter dbusOnce installation is finished, start the dbus (desktop bus) service:
rc-service dbus startEnable dbus to start on boot:
rc-update add dbus
💡
If dbus is not running, it leads to issues like missing icons and keyboard shortcuts
Enable udev service:
setup-devd udevNow start the LightDM using:
rc-service lightdm startIf your LightDM GUI has started and prompts a login, log in as root and open a terminal. Next, run the below command to enable LightDM to start up during boot. If not started, run the command in the same prompt.
rc-update add lightdm
Allow Users to shut down and reboot
If you want to allow the users to shut down the machine or reboot the system, you need to have polkit-elogind and elogind installed.
apk add elogind polkit-elogindNow, reboot the system:
reboot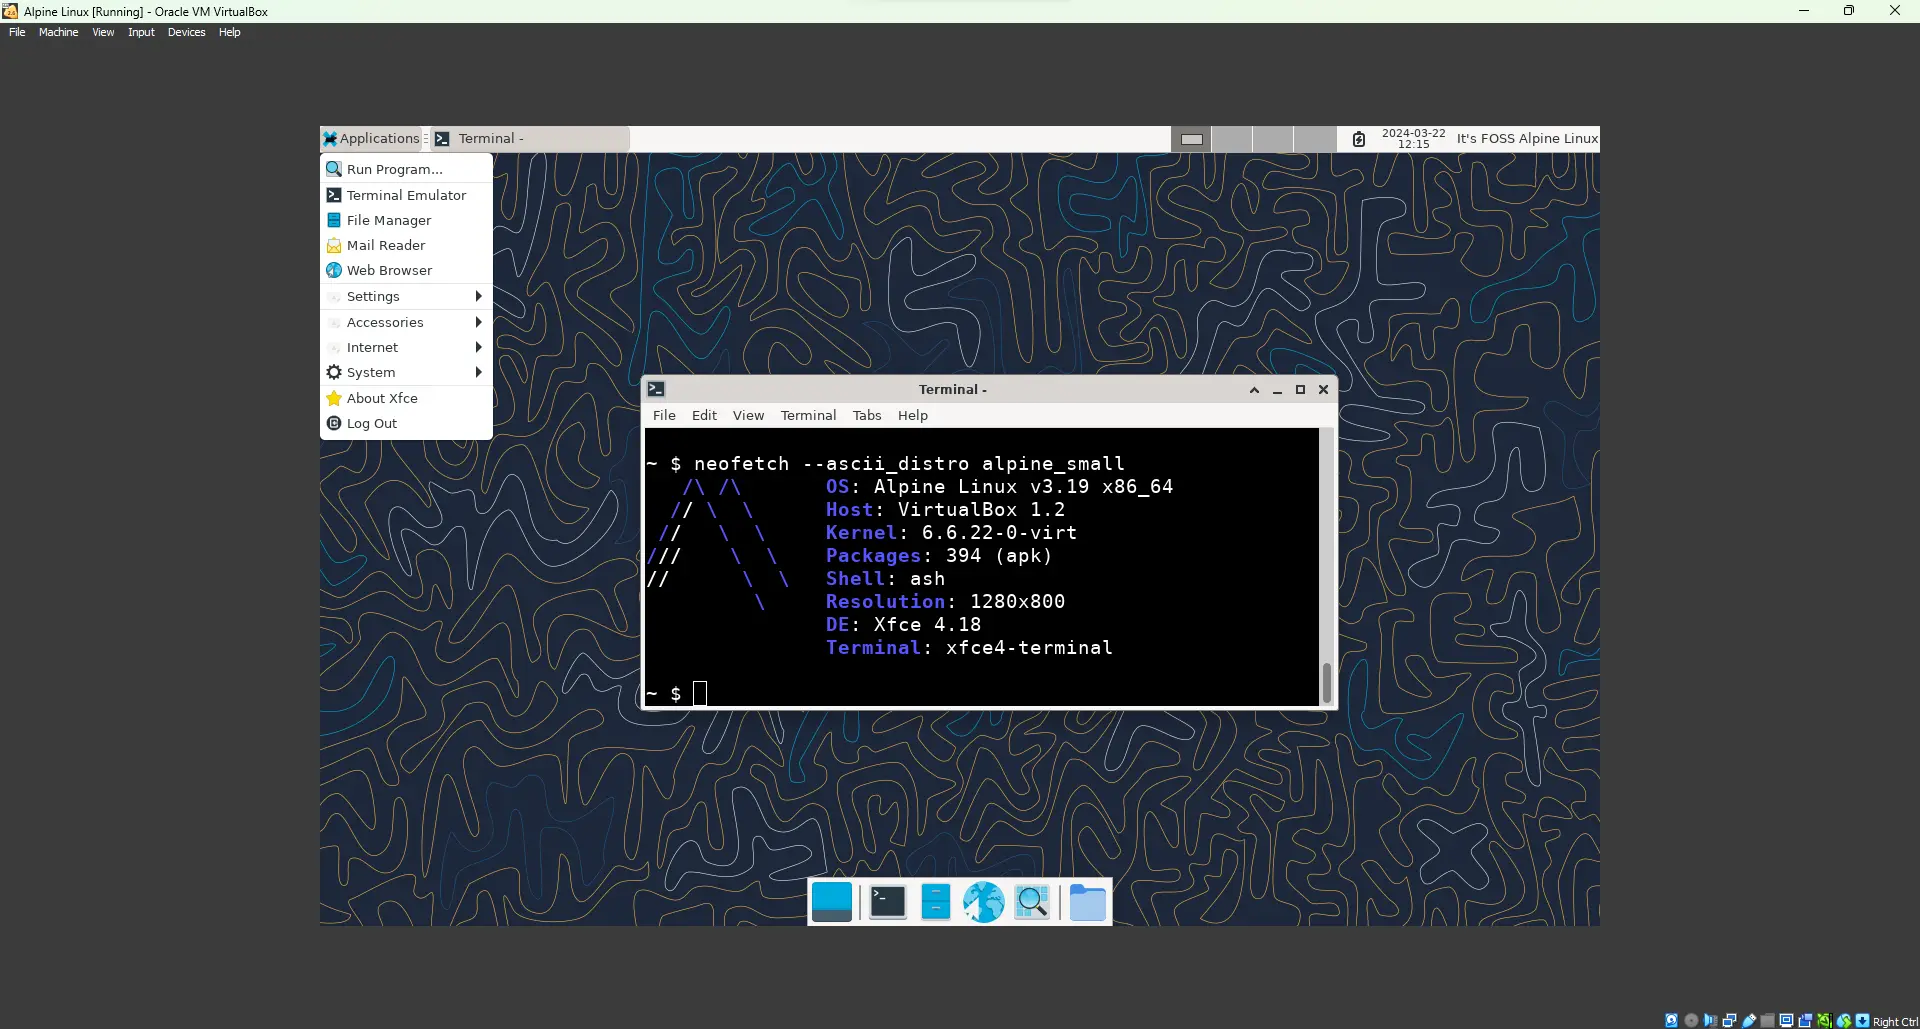
That’s the end…
I understand that it is slightly different than the usual way of installing Linux in VirtualBox. But then Alpine Linux is slightly different from most other Linux distributions.
I hope you find this quick tutorial helpful in getting started with Alpine Linux. Please let me know if you have questions or suggestions.