Running a homelab on a Raspberry Pi can be a rewarding yet challenging experience. My journey began with a Raspberry Pi 4 (4 GB) hosting several WordPress websites and a few Ghost blogs.
Recently, I became more ambitious, aiming to expand my setup with Nextcloud for private cloud storage and ONLYOFFICE to create a fully self-hosted ecosystem. This is where things got interesting and a bit messy.
Adding Nextcloud and ONLYOFFICE to the mix put a significant strain on my Pi 4, leading to slowdowns, occasional freezes, and a slew of input/output errors.
After some investigation, I found that the default 200 MB swap memory was entirely maxed out.
Curious, I thought, “Why limit it to just 200 MB? Let’s see what happens if I increase it.” So, I expanded the swap space to 2 GB, and my Pi started running noticeably smoother.
Here’s how I did it, and some tips if you’re considering the same.
Table of Contents
Prerequisites
To follow along, make sure you have:
- A Raspberry Pi running Raspberry Pi OS.
- Access to a terminal (either directly or via SSH).
- Sufficient free space on your SD card for the additional swap.
Step 1: Turn off the current swap
Before resizing the swap file, you’ll need to turn off the active swap space. Run the following command in your terminal:
sudo dphys-swapfile swapoffThis disables the swap temporarily, allowing you to adjust its size.

Step 2: Edit the swap configuration file
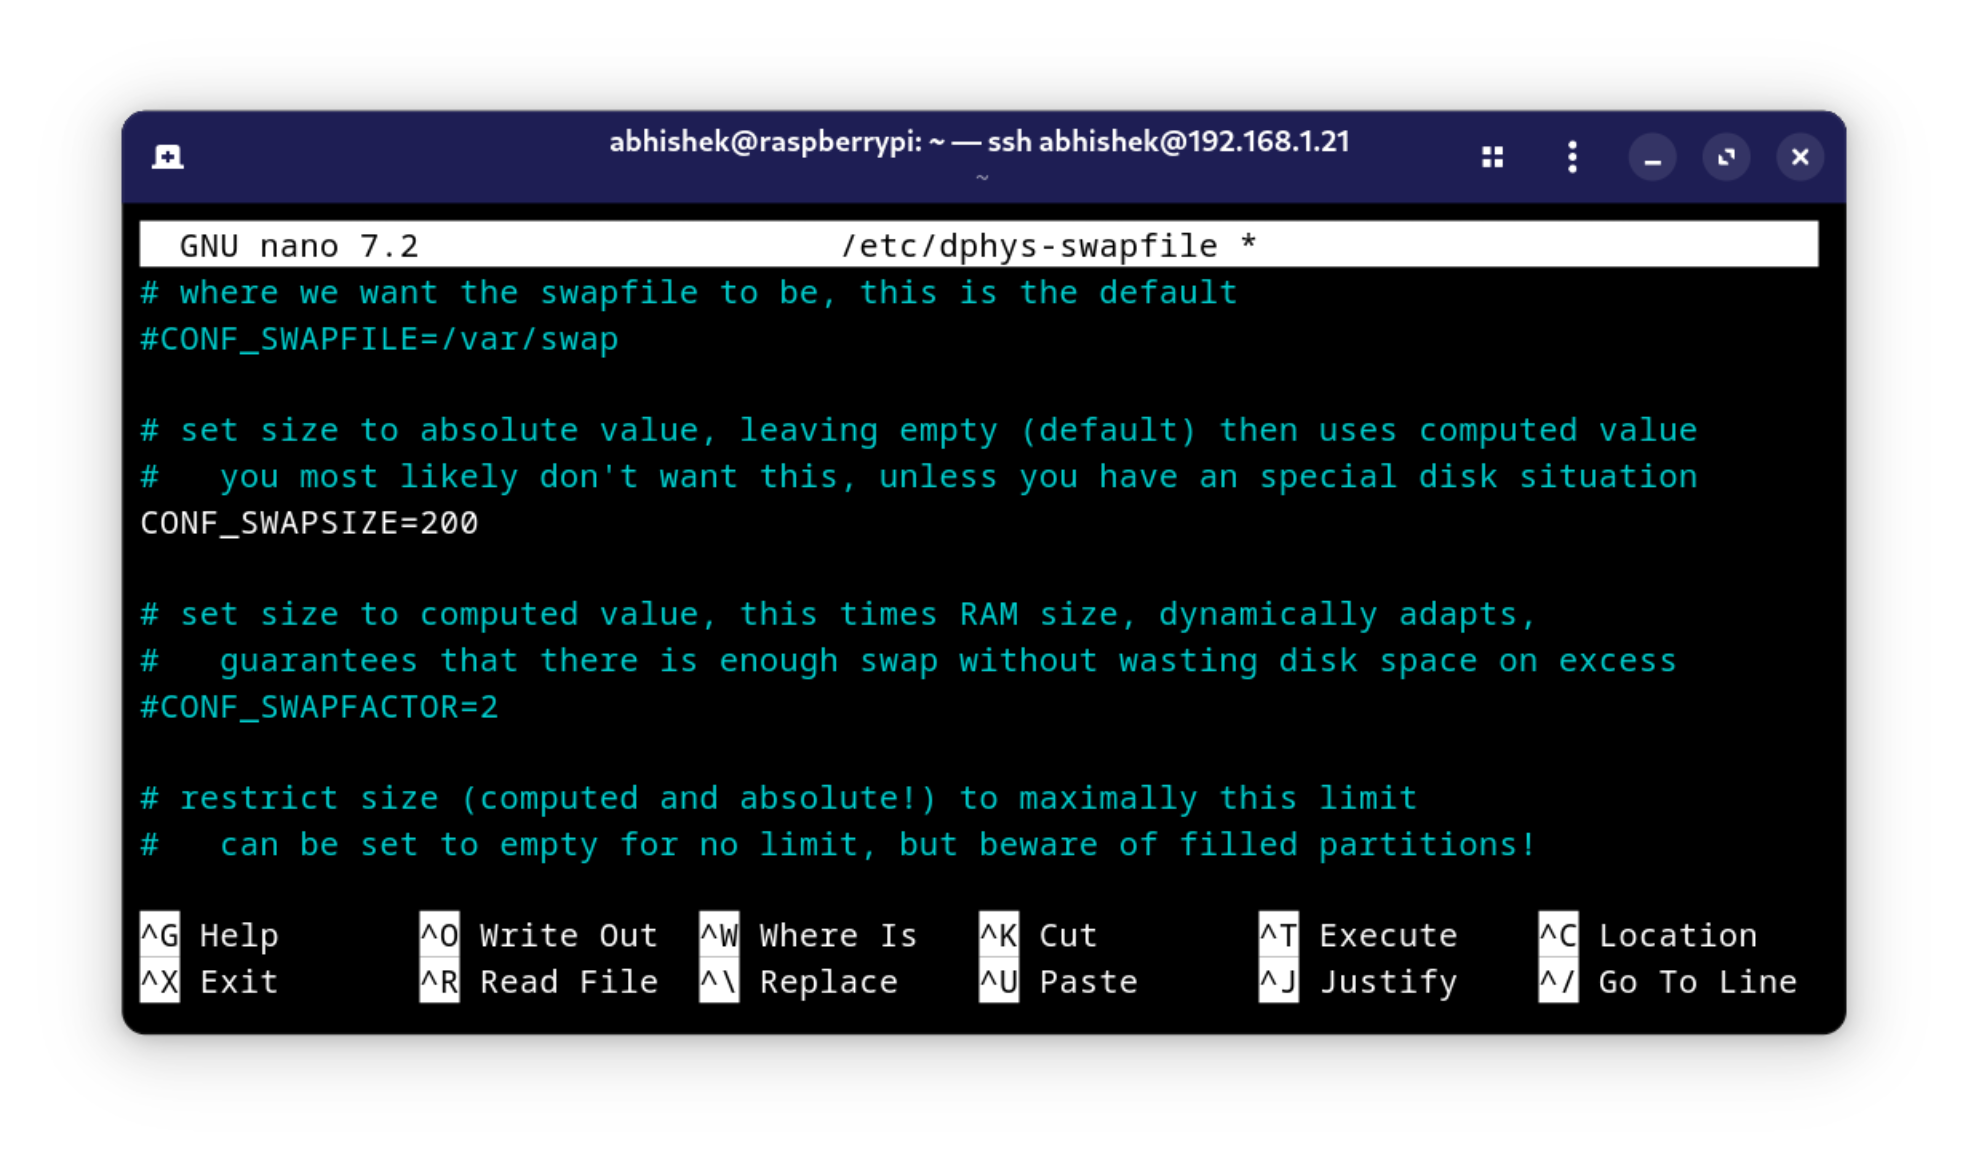
Next, open the swap configuration file in a text editor. I prefer nano, but any editor will do:
sudo nano /etc/dphys-swapfileLook for the line CONF_SWAPSIZE=200 (or a similar value). This line defines the current swap size in megabytes.
Step 3: Increase the swap size
Change the value to your desired size. For instance, setting it to 2048 will give you 2GB of swap space:
CONF_SWAPSIZE=2048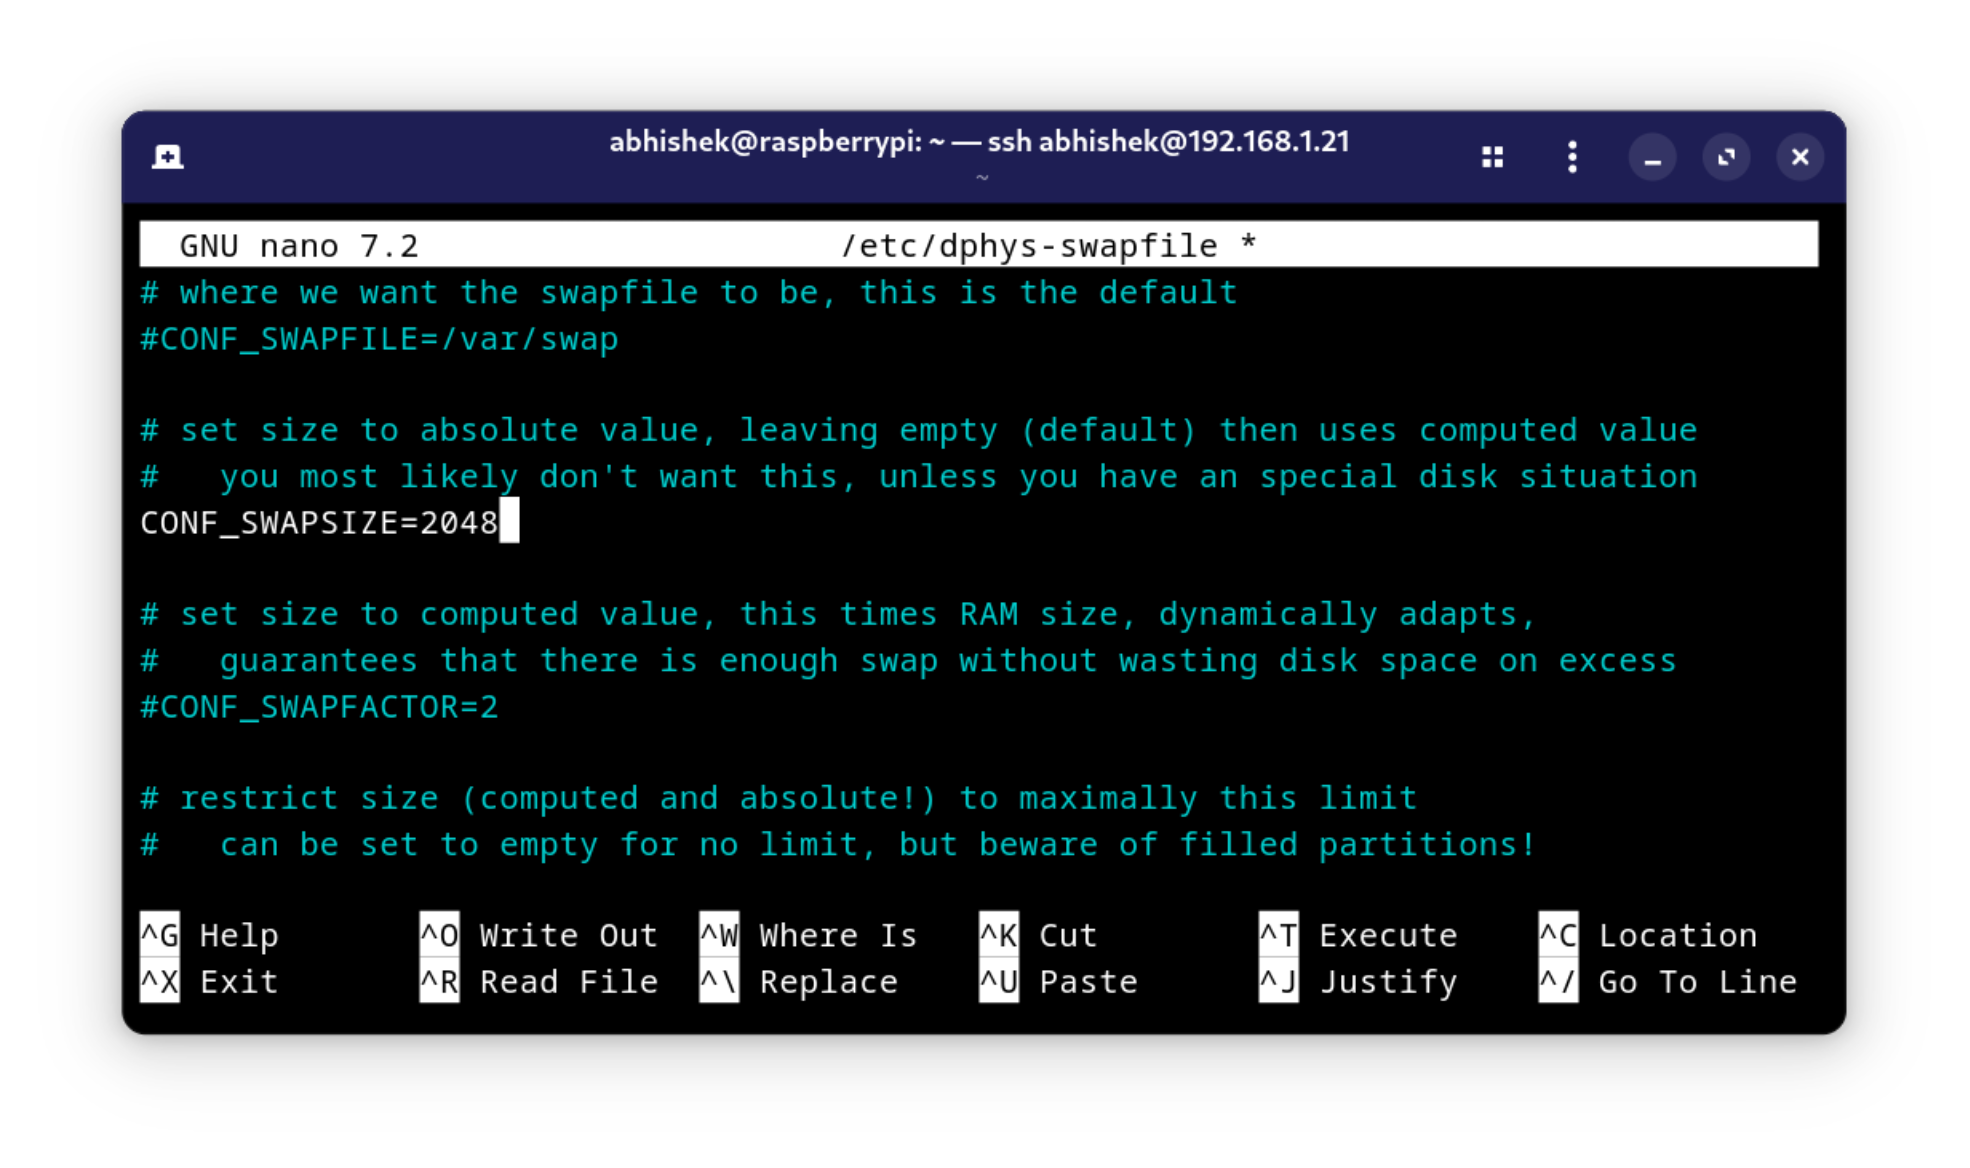
Remember that the size you specify must be available on your SD card. Save your changes by pressing CTRL + X, followed by Y, then Enter to confirm.
Step 4: Apply the new swap size
After updating the configuration, recreate the swap file to match the new size by running:
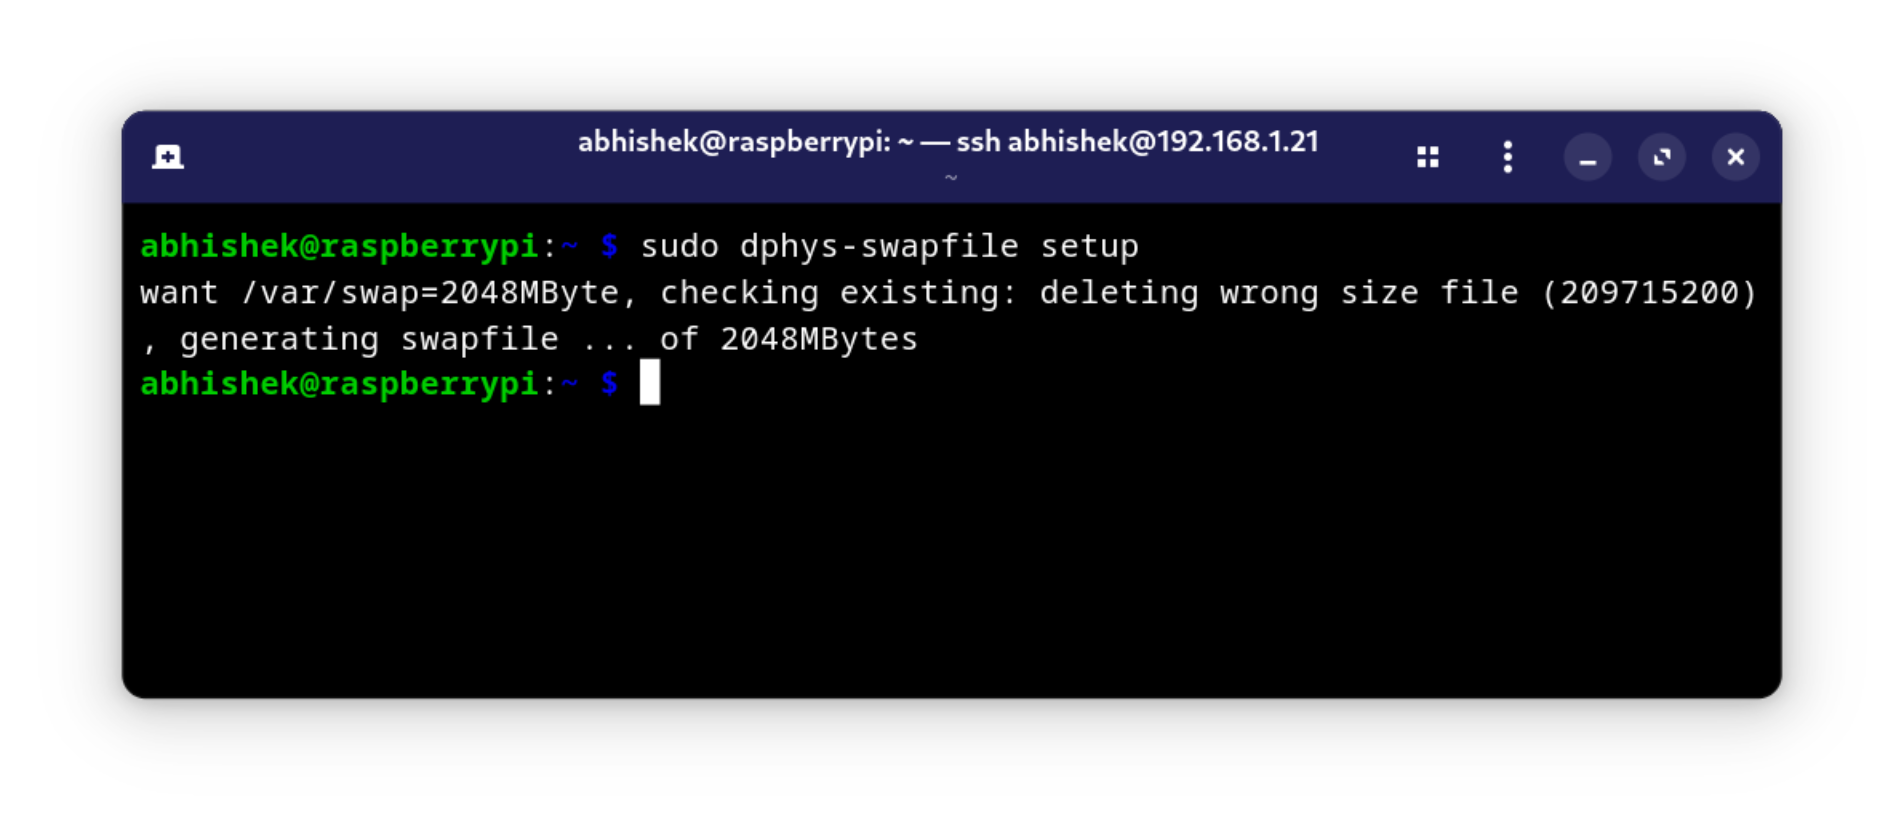
sudo dphys-swapfile setupThis command will delete the old swap file and create a new one with the size specified in the configuration file.
Step 5: Turn the wwap back on
Now, re-enable swap with:
sudo dphys-swapfile swaponAt this point, your new swap file is active, but for the best results, reboot your Pi to ensure all applications recognize the additional memory:
sudo reboot now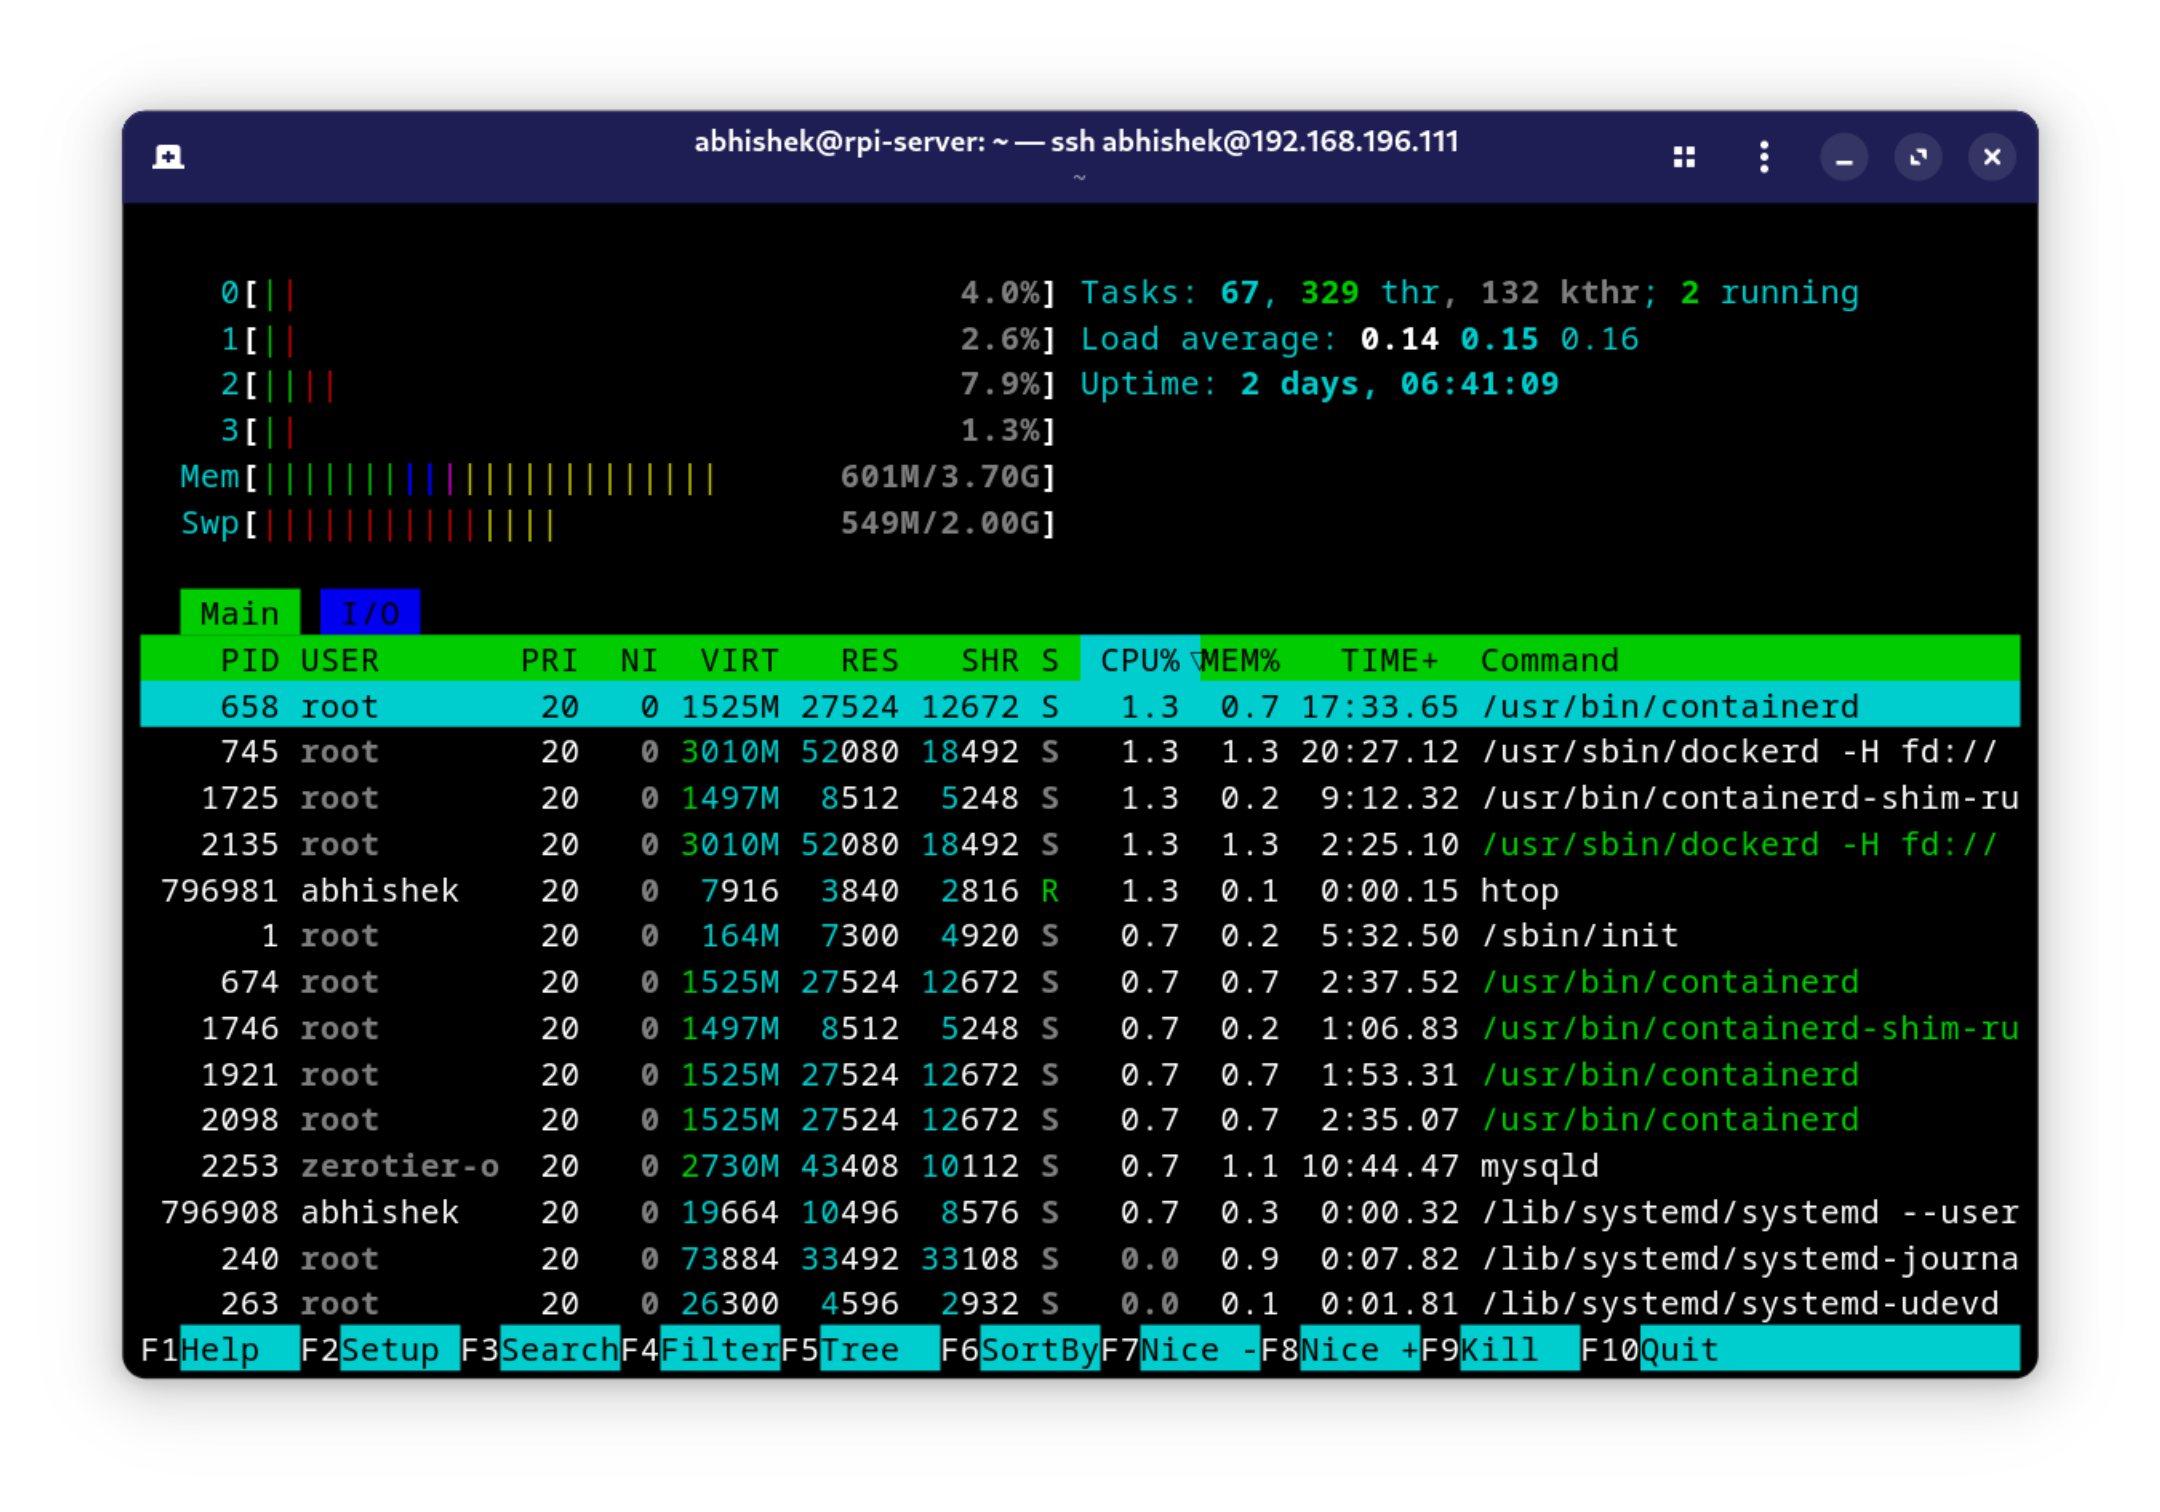
Why Increase Swap Space?
The Raspberry Pi’s swap file acts as an overflow for RAM, giving the system extra memory by writing some data to disk when physical RAM is fully utilized.
Although accessing swap memory is slower than RAM, it can help manage resource-intensive applications by preventing crashes or system freezes.
However, keep in mind that an unnecessarily larger swap file can wear down your SD card over time.
Final Thoughts
Increasing my Raspberry Pi’s swap space from 200 MB to 2 GB made a noticeable difference. My Nextcloud and OnlyOffice setup has been running more smoothly, with fewer slowdowns and far less system freezing.
However, this solution is still not perfect, SD card wear and the slower nature of swap memory mean it’s more of a temporary solution than a permanent fix.
For anyone trying to push the limits of a Pi like I have, increasing swap space can provide short-term relief, but it’s essential to consider upgrading to hardware with more RAM if you’re regularly maxing out your resources.
In my case, I’m exploring x86 servers to handle my containers and self-hosted applications more robustly, and I’ll cover that journey in a future article.
This experience has further reinforced my love for tinkering and optimizing setups, but also reminded me of the limitations of working on minimal hardware.
Sometimes, a modest hardware upgrade can make all the difference in creating a smoother, more reliable self-hosted ecosystem.
