Ever since I got into the world of computers, the idea of hacking my friends’ systems felt like the coolest thing I could do. And, I am sure, it is not just me.
It started as a casual fascination, but then I discovered Kali Linux, and an entire universe of possibilities opened up in front of me!
This is not your average Linux distro for daily use. Kali Linux is built to offer an essential tool set for cybersecurity pros and curious tinkerers.
Not just the concept of penetration testing or hacking, Kali Linux supports running on Raspberry Pi, which happens to be my area of liking!
Of course, I could not get out the thought of having a mini hacking lab (even if I am not an ethical hacker) on my Raspberry Pi. So, naturally, I installed Kali Linux on it 😉
Here, I tell you how you can do it too.
Table of Contents
Installing Kali Linux on Raspberry Pi
First things first: while you can install Kali Linux on any Raspberry Pi model, the Raspberry Pi 5 is currently in beta for Kali (at the time of writing this), meaning it is not fully supported yet.
You can check out their documentation for the latest updates, but if you’re using a Pi 5, expect a few bumps along the way.
There are two methods of installing Kali Linux and we will be exploring both:
Method 1: Using Raspberry Pi Imager
Step 1: Open the Imager and click on “Choose OS.”
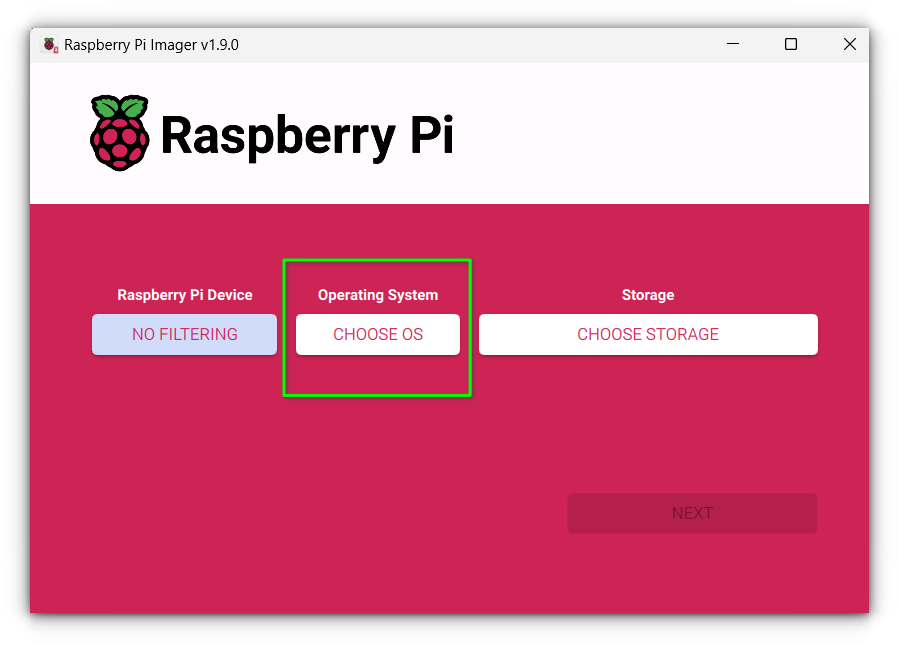
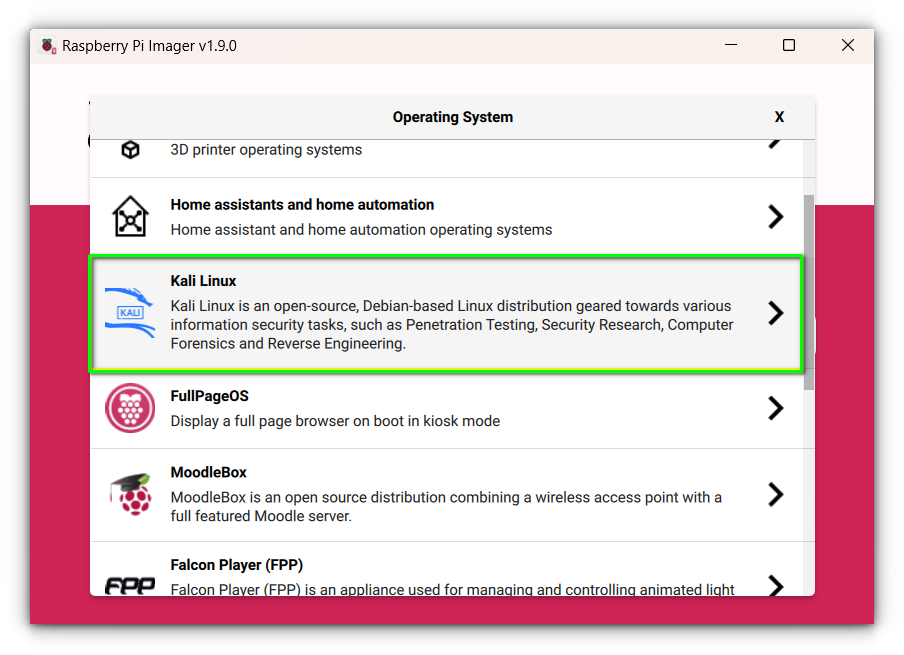
Step 2: Go to “Other specific-purpose OS” and then select “Kali Linux.”
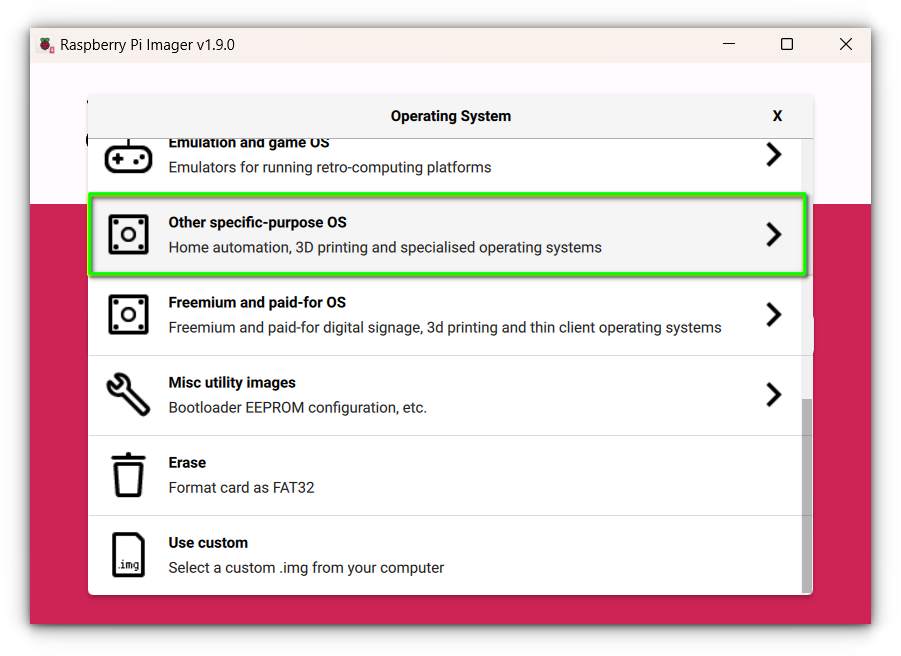
You can see other options available along with Kali Linux. Our focus here is Kali.
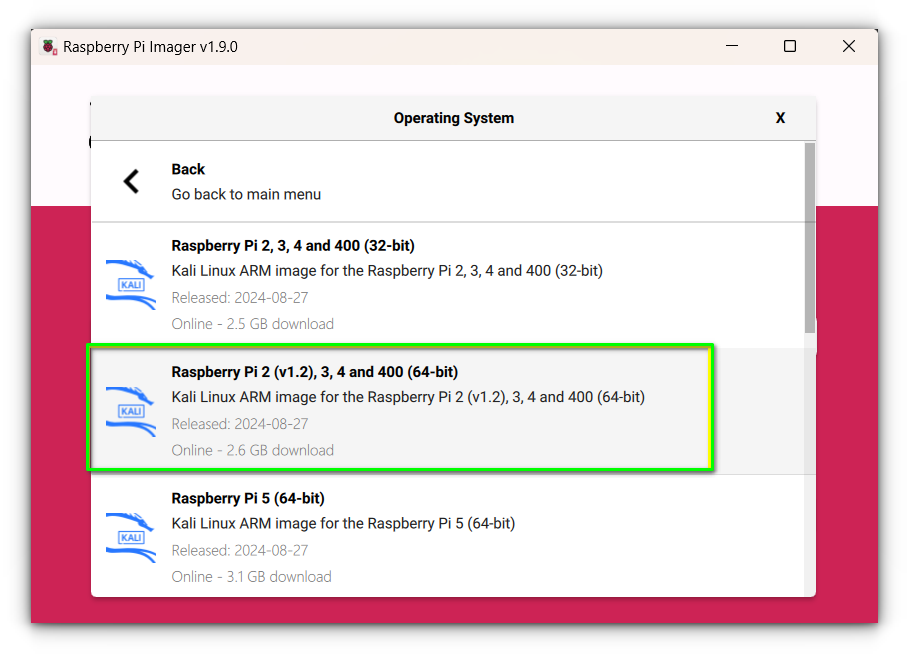
Step 3: Choose the appropriate version (64-bit is recommended if your Raspberry Pi supports it).
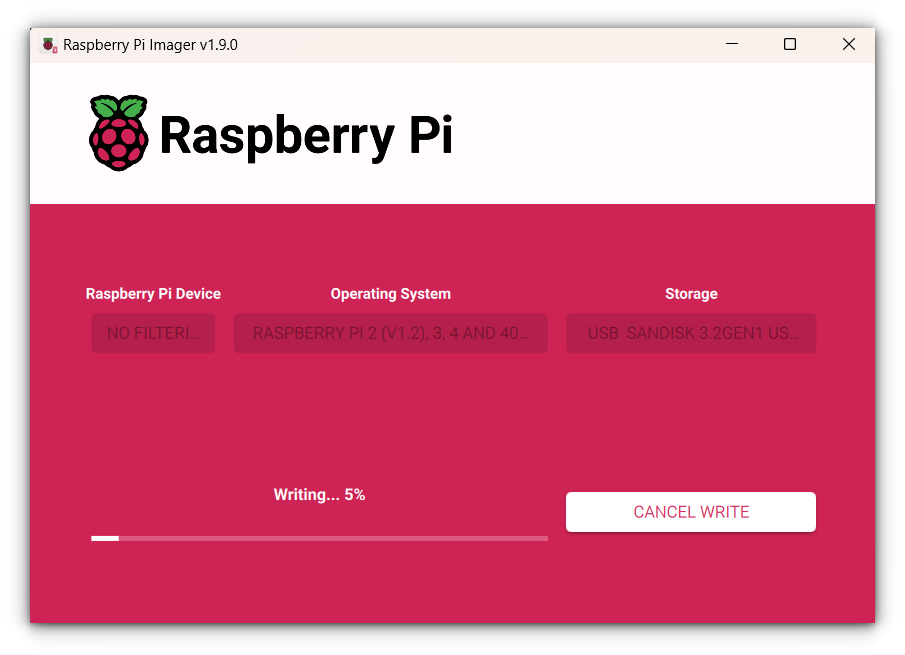
Step 4: Select your SD card (make sure it is at least 16 GB for Kali).
Step 5: Click “Write” and let the magic happen!
Method 2: Manual Installation
If you want to choose the ISO yourself, you can manually download the Kali image for ARM devices from Kali’s website as per your Raspberry Pi model.
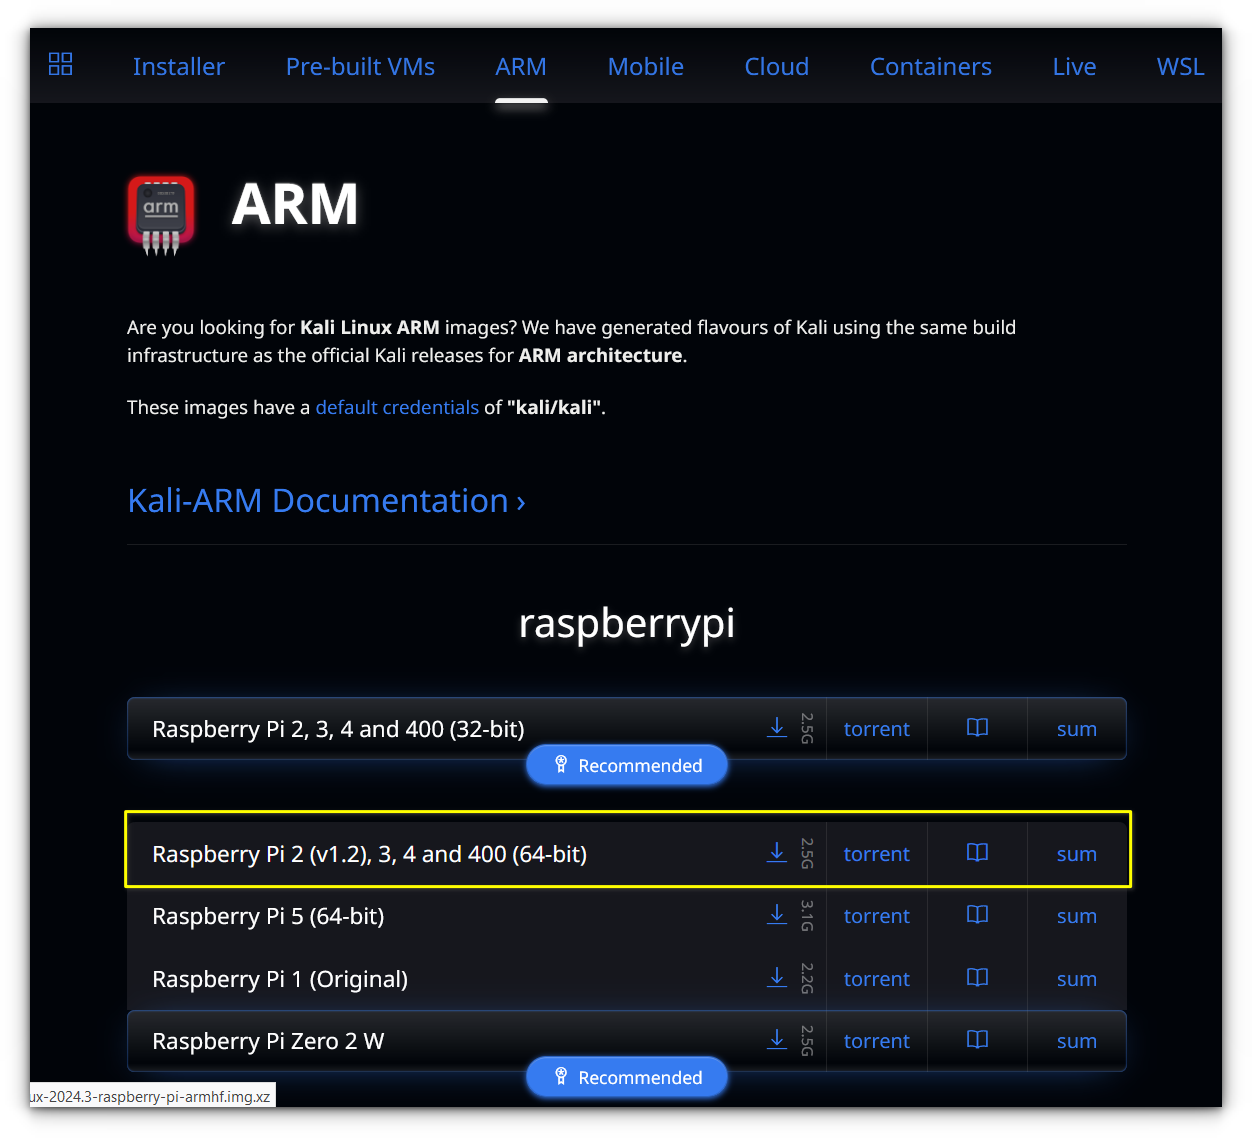
Once you do that, use a tool like Raspberry Pi Imager or Balena Etcher (if that’s what you prefer) to flash the image to your SD card.
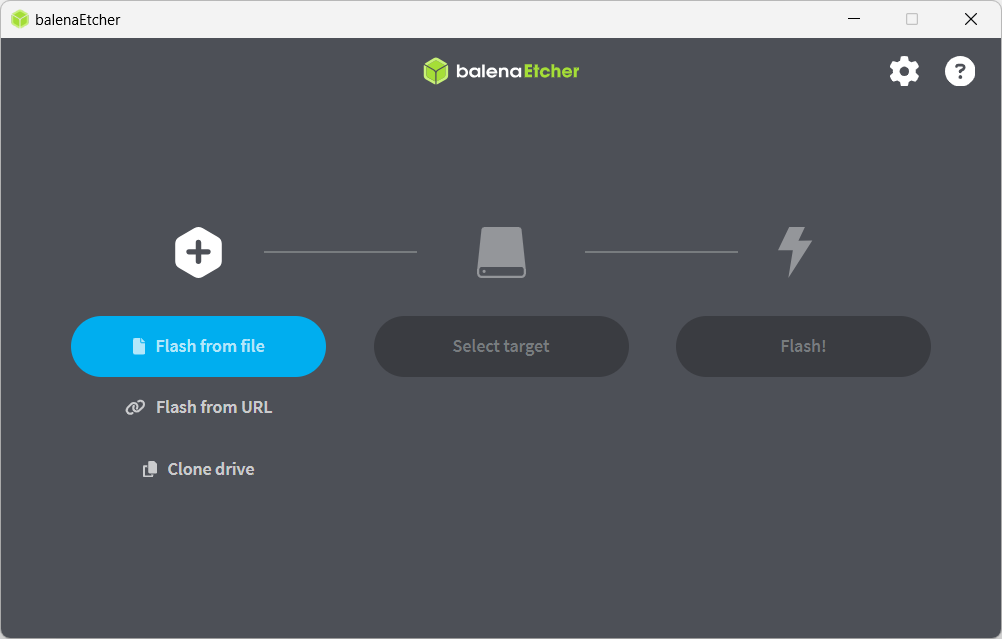
First Boot
Once the flashing process is done, eject the SD card, insert it into your Raspberry Pi, and power it on. Kali will boot directly into a login screen.
💡
Use kali as both the username and password initially.
Desktop Experience
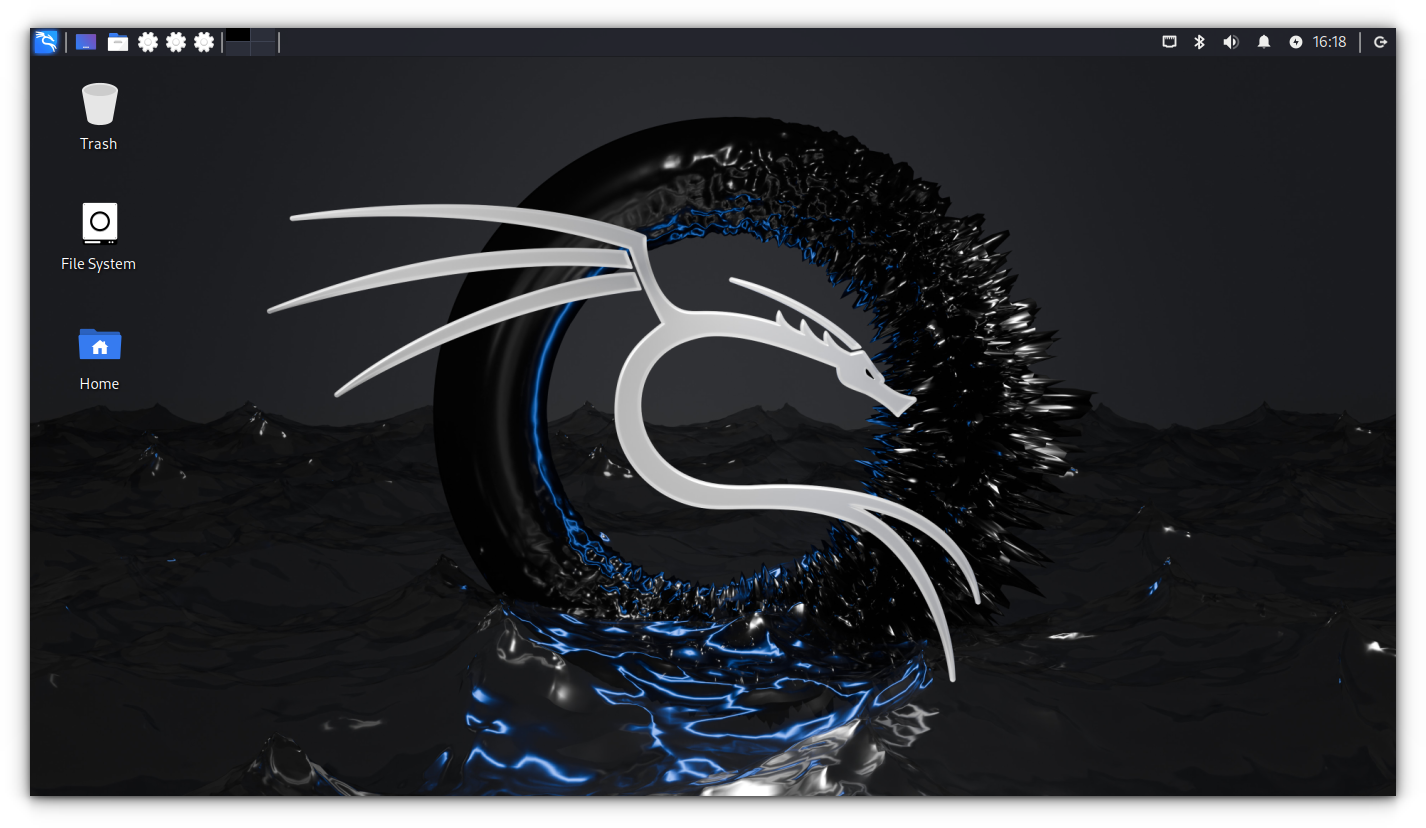
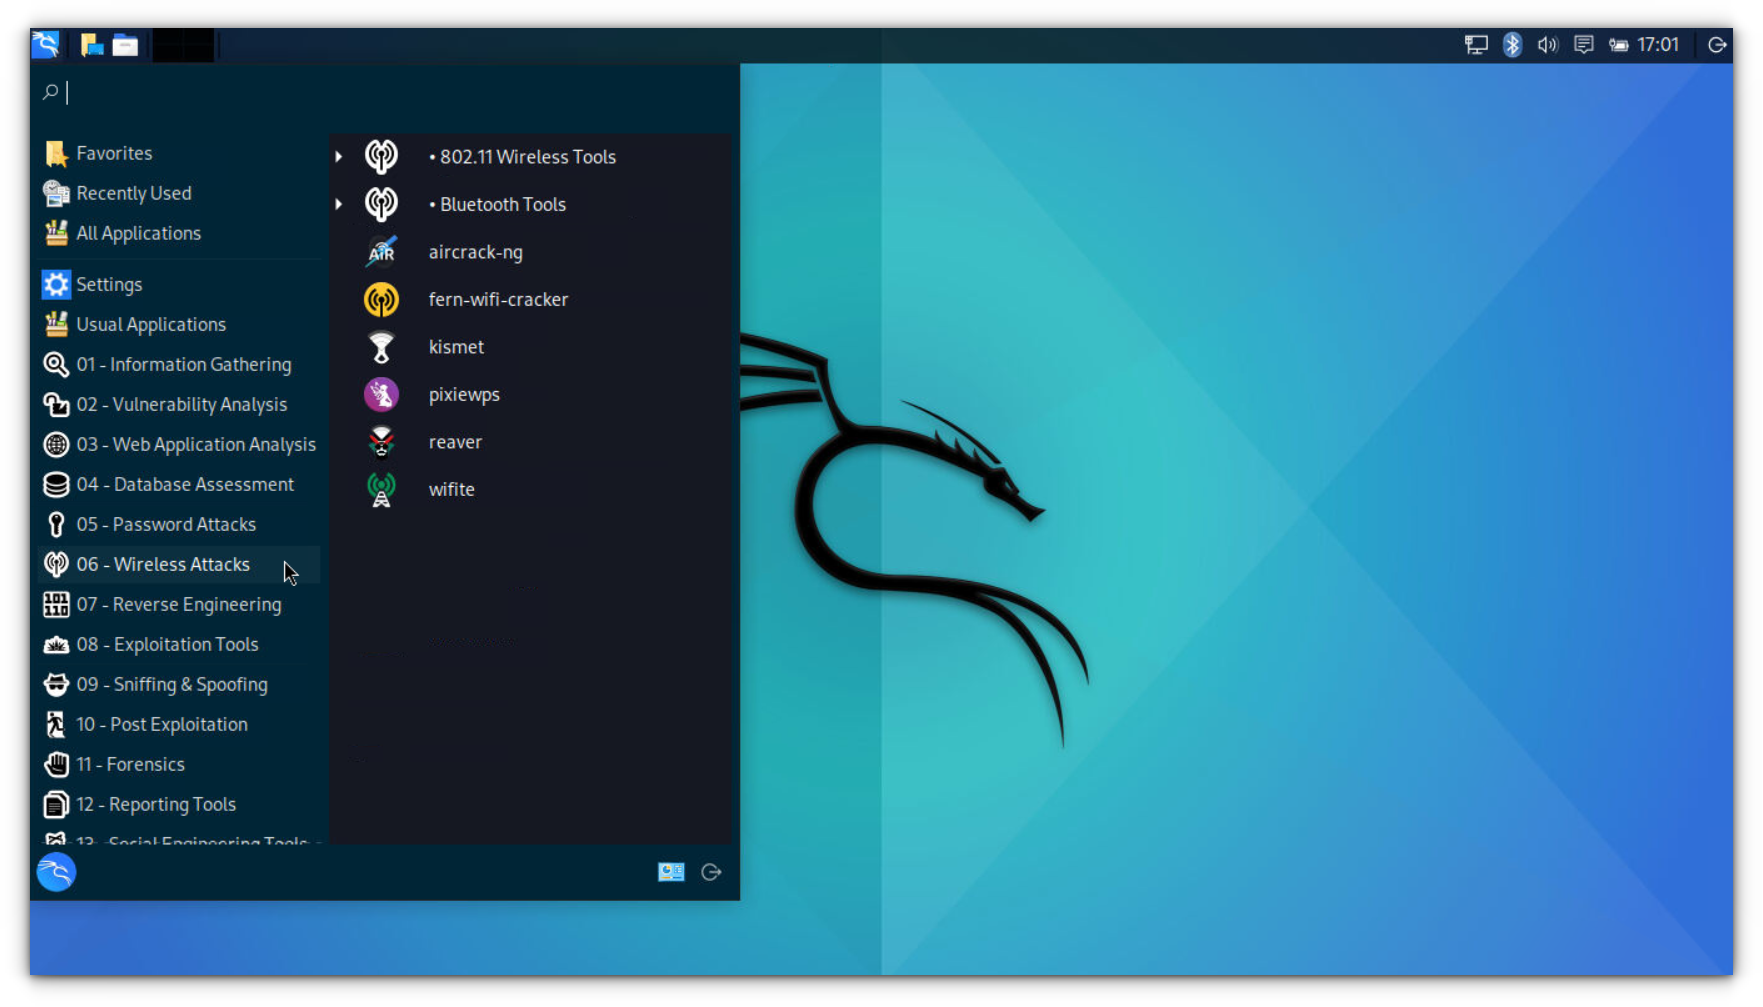
When you boot into Kali Linux, you will be greeted by a clean and polished XFCE desktop that stands out with its sleek customization.
In my opinion, it is one of the best desktop experiences I’ve seen on a Raspberry Pi. The layout is intuitive, making it easy for beginners to navigate.
Even if you are more accustomed to Windows, you can switch to a full-fledged Windows-like theme from the settings, which might even trick a seasoned Windows user into thinking you are using Windows on Raspberry Pi.
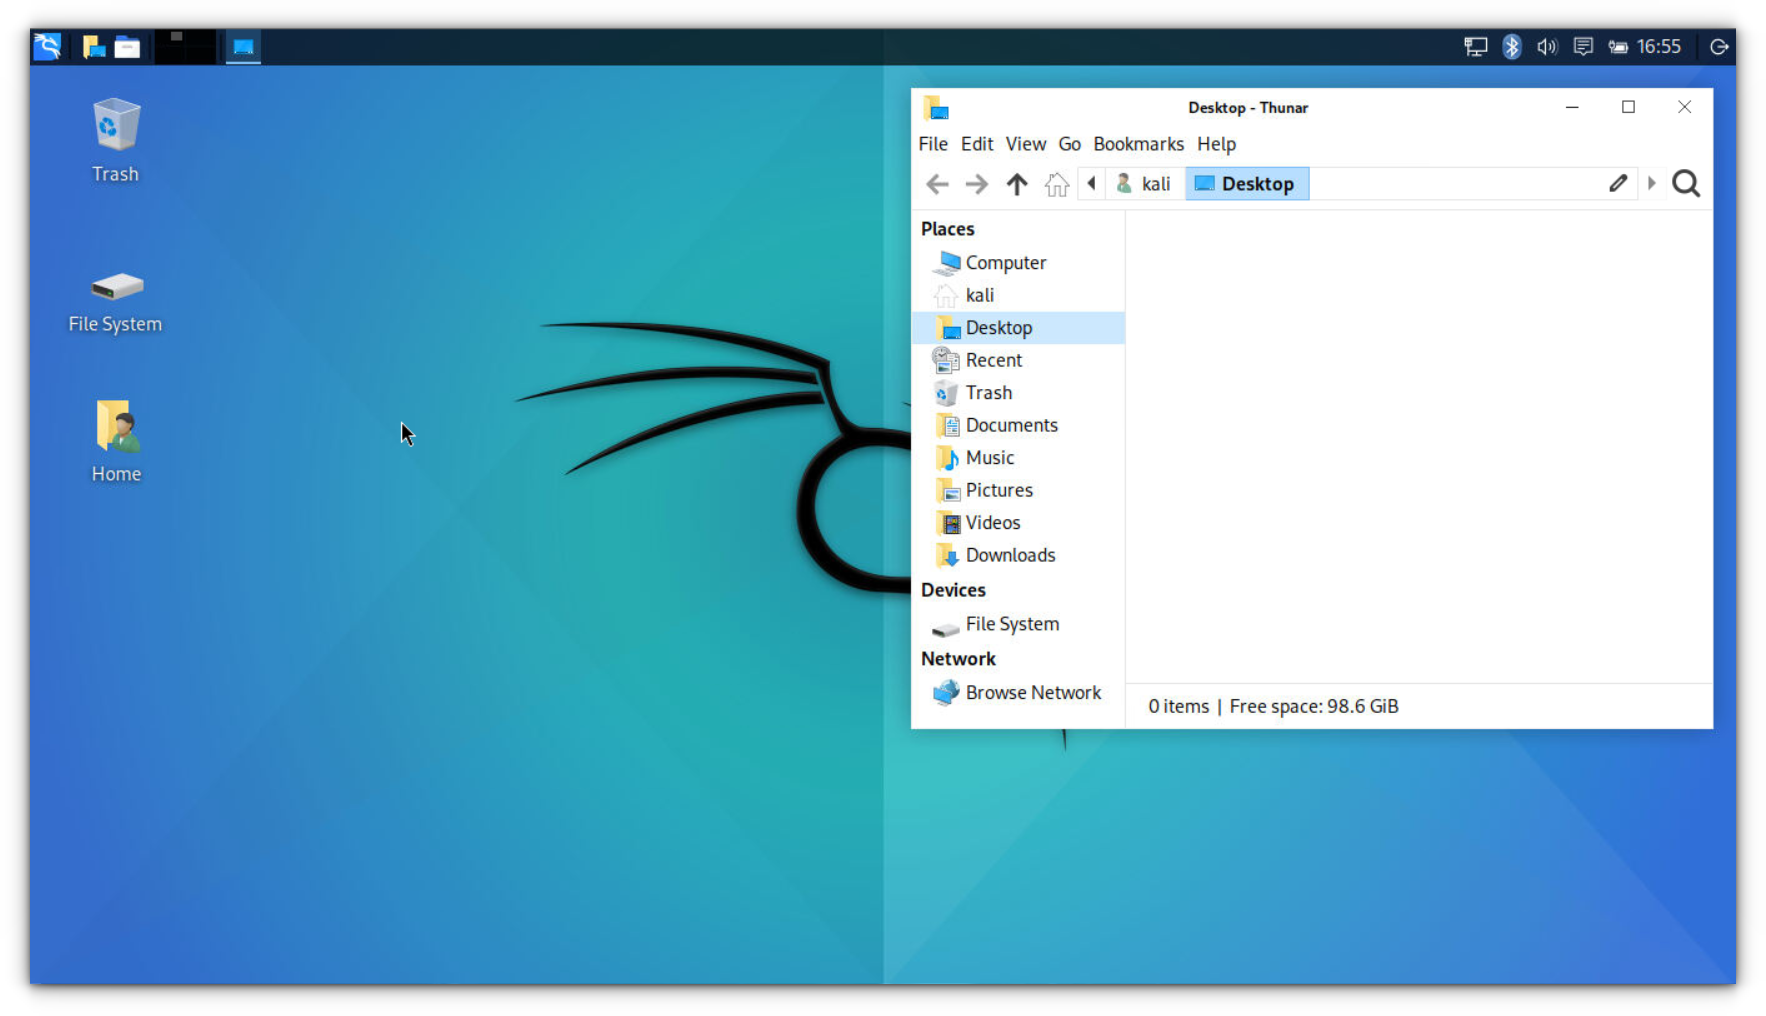
By the way, if you are seriously giving that a thought, it is possible to install Windows on Raspberry:
While Kali boots slightly slower than Raspberry Pi OS particularly on older Pi models, but once you are in, it runs surprisingly smoothly.
In the Applications menu, you will find Kali’s signature pentesting tools, neatly organized under categories like “Exploitation Tools” and “Sniffing & Spoofing” making it a highly focused environment for cybersecurity related work.
My thoughts on Kali experience on Pi
If you are new to cybersecurity, and do not have a spare computer (or system resources for Kali Linux VM), Raspberry Pi is a great option for you. You get access to hundreds of pre-installed tools, and the low cost of the hardware makes it a great choice for experimenting without breaking the bank.
However, there are some limitations. A few Kali Linux tools, like Burp Suite, are not yet supported for the ARM architecture, which might be a dealbreaker for some.
That said, you can still use a lot of other essential tools for wireless testing, network analysis, and more. Overall, if you want to dive into the world of ethical hacking, this is a perfectly affordable setup.
💭 I would be curious to learn about your experiences with Kali Linux on Raspberry! Let me know your thoughts in the comments below! Happy hacking!
