- Last UpdatedSep 23, 2024
- •
- Reading Time8 min read
Whether you’re a developer looking to understand the intricacies of WordPress hosting, a system administrator expanding your skill set, or simply an enthusiast wanting to take control of your web presence, this guide will equip you with the knowledge to set up a robust WordPress installation on your own Ubuntu server.
As the world’s most popular content management system, powering just under half of all websites on the Internet, WordPress’s flexibility, extensive plugin ecosystem, and user-friendly interface make it ideal for everything from personal blogs to large-scale enterprise websites.
While there are many ways to host WordPress, including managed solutions and one-click installers, understanding the manual installation process can provide valuable insights into the underlying technology stack and give you greater control over your web environment.
Table of Contents
Before You Install WordPress
Before we explain how to install WordPress, let’s ensure you have everything necessary to successfully follow this tutorial step-by-step:
- A Server Running the Latest Version of Ubuntu: You’ll need a server deployed with the most recent Ubuntu release. You can set this up with any cloud provider of your choice. For this tutorial, we’ll be using UpCloud, known for its user-friendly interface and straightforward setup process.
- Privileged Access to Your Linux Server: When deploying your server, be sure to securely note down the credentials for the root user (or the privileged sudo user). You must have either root access or the ability to use the sudo command to install applications on your server.
Having these prerequisites in place will ensure a smooth installation process as we move forward with setting up WordPress on your Ubuntu server using Apache.
Steps for Installing WordPress on Ubuntu
In this section, we will provide you with the instructions for installing and configuring WordPress on a fresh Ubuntu server.
Step 1 – Installing All Of The Required Packages (LAMP)
The first step to setting up WordPress on your Ubuntu server is to install the necessary components of the LAMP stack: Apache, PHP, and MySQL.
- Apache serves as the web server, processing and delivering web content to visitors.
- PHP is the scripting language that WordPress is built upon, allowing for dynamic content generation.
- MySQL, is a relational database management system, that stores all of WordPress’s content, user information, and settings.
Together, these components create a robust and efficient platform for running WordPress.
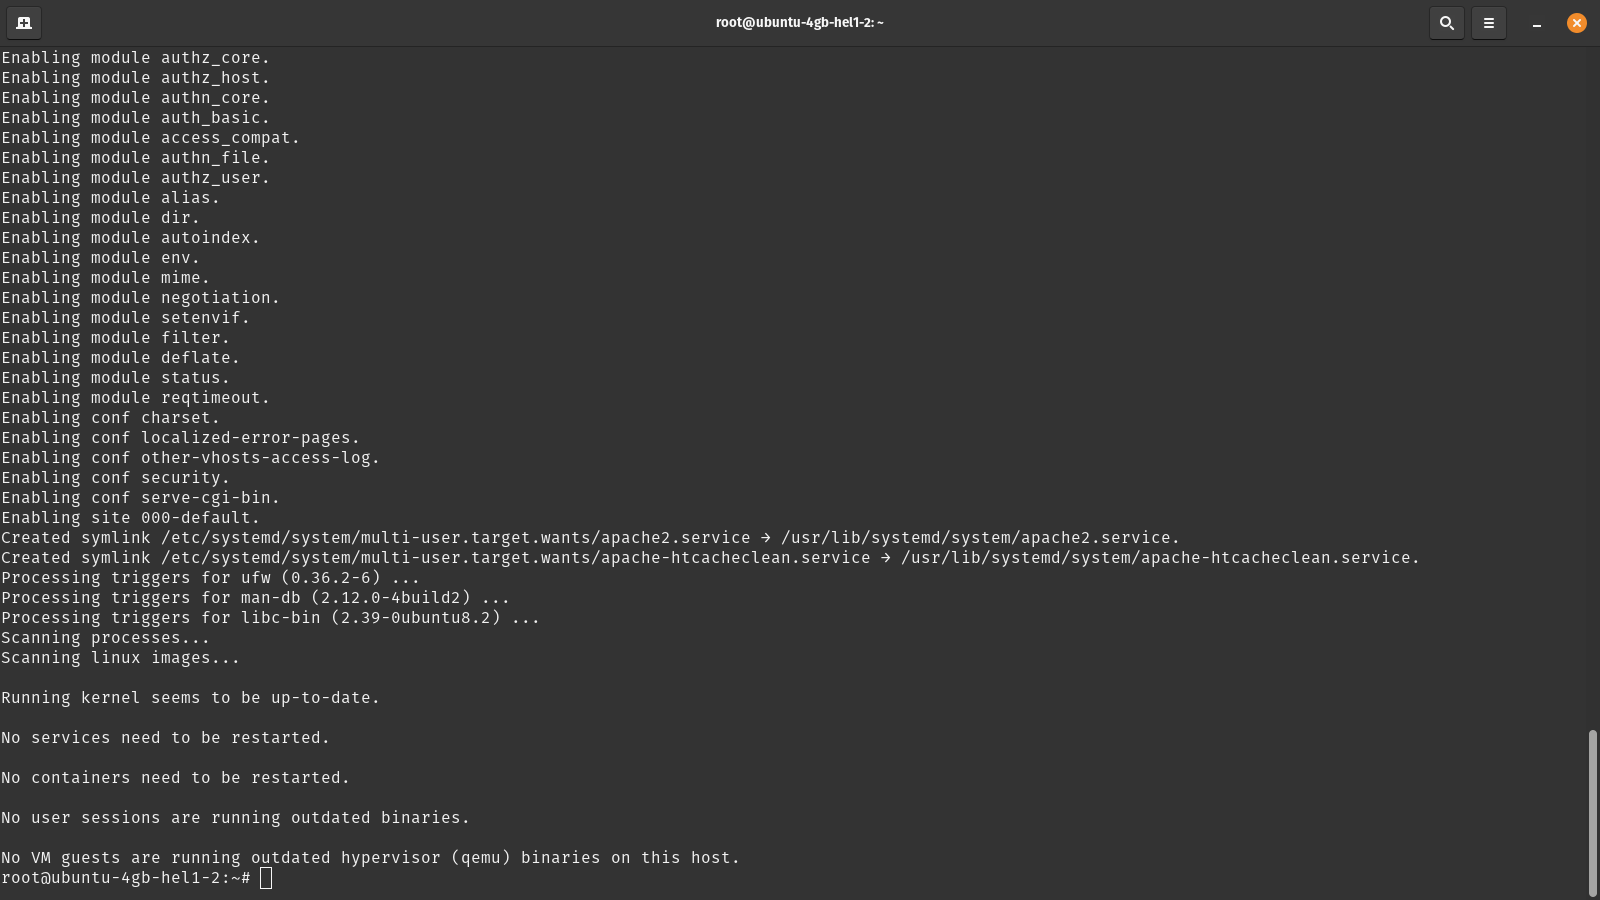
To begin this process, you’ll need to access your server via SSH (Secure Shell) using a terminal or command line interface. Once connected, you can execute the following command to update your server’s package manager cache to ensure you’re installing the most recent versions of the software and install the necessary packages:
sudo apt update
sudo apt install apache2 mysql-server php-curl php-gd php-mbstring php-xml php-xmlrpc php-soap php-intl php-zip php libapache2-mod-php php-mysql -y
After running these commands in your terminal, you will need to wait for a few minutes for the installation process to complete successfully.
After successfully installing the packages, it’s important to configure your server’s firewall to allow incoming HTTP traffic. This step is necessary if you want your website to be accessible on the internet. Simply run the following command to enable it:
sudo ufw allow in "Apache"This command instructs the Uncomplicated Firewall (UFW) to create a rule allowing incoming connections to Apache. To confirm that the firewall rule has been properly applied, you can check the status of UFW at any time by running the command:
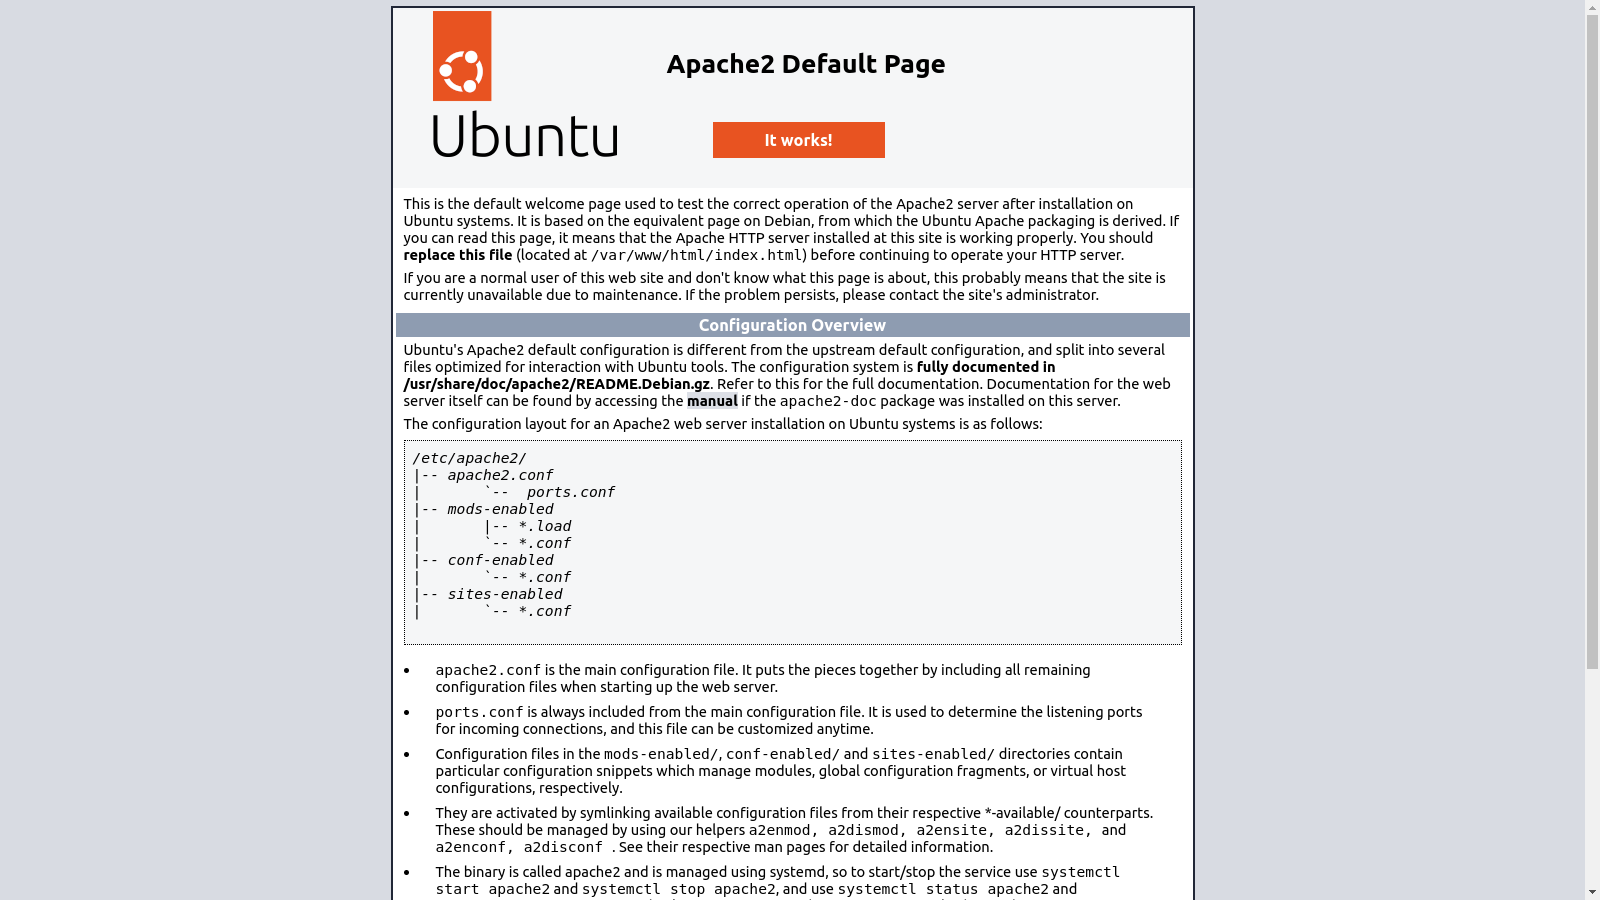
sudo ufw statusAdditionally, you can verify that Apache is functioning correctly by opening a web browser and navigating to your server’s IP address (http://[your server ip]). If everything is set up properly, you should see Apache’s default welcome page. This default page serves as a confirmation that Apache is installed and responding to HTTP requests, even though your WordPress site isn’t set up yet.
Step 2 – Configure MySQL
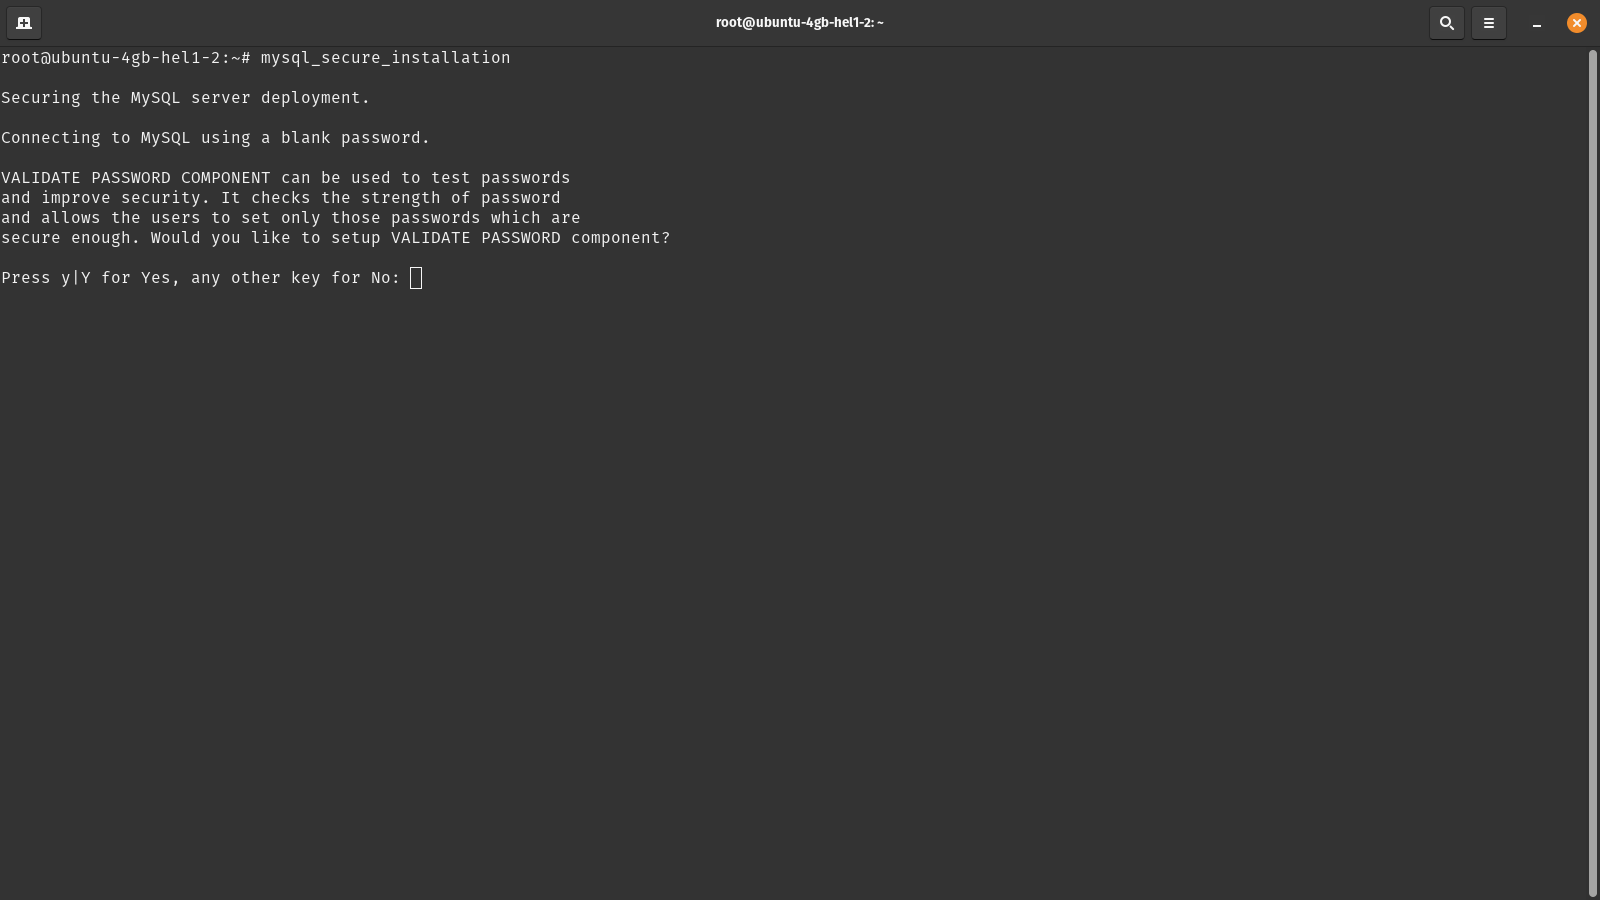
After installing MySQL, it’s important to configure it securely, especially for production environments. The mysql_secure_installation script helps you improve the security of your MySQL installation. To begin the configuration, run the following snippet:
sudo mysql_secure_installationThis script will guide you through several security-related options:
- Password Validation: You’ll be asked if you want to set up the VALIDATE PASSWORD component. For production sites, it’s recommended to answer ‘Y’ and choose a strong password policy (level 2 is the most secure). This ensures all MySQL passwords meet high-security standards.
- Set Root Password: If you haven’t set a root password yet, you’ll be prompted to do so. Choose a strong, unique password for the MySQL root user.
- Remove Anonymous Users: It’s advisable to remove anonymous users by answering ‘Y’. This prevents unauthorized database access.
- Disallow Root Login Remotely: It’s safer to disallow root login from remote machines for single-server setups. Answer ‘Y’ to this prompt.
- Remove Test Database: The test database is unnecessary for most installations. Removing it (by answering ‘Y’) reduces potential security risks.
- Reload Privilege Tables: Answer ‘Y’ to this final prompt to ensure all changes take effect immediately.
For a test or development environment, you can be less stringent and skip the password validation setup, use a simpler root password, and potentially keep the test database. However, even for test sites, it’s generally good practice to remove anonymous users and disallow remote root login. These settings can be changed later if needed, but starting with a secure configuration is always recommended, even for test environments.
Step 3 – Create MySQL Database & User for WordPress
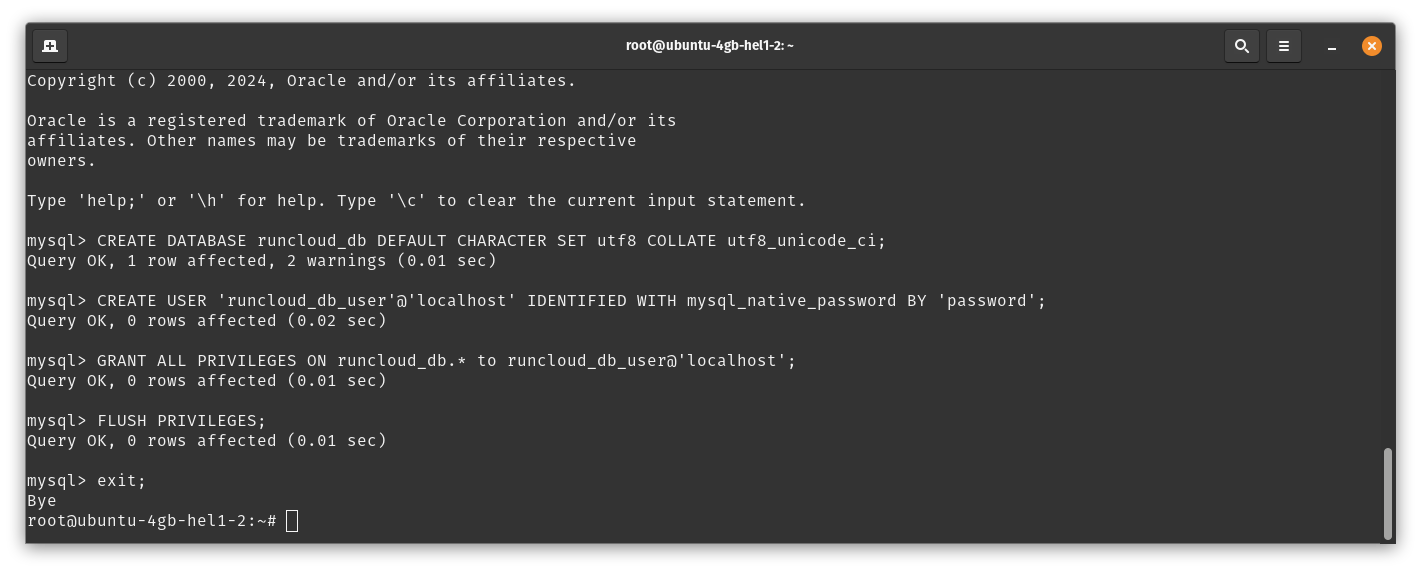
Having installed MySQL earlier, it’s now time to create a database for WordPress to store its content, including posts, pages, comments, and user information. To begin this process, open MySQL by running the following command:
sudo mysqlThis command will open the MySQL prompt. If all previous steps were completed successfully, you should see the MySQL welcome message in your terminal. To create a new database for WordPress, execute the following SQL command:
CREATE DATABASE wordpress_db DEFAULT CHARACTER SET utf8 COLLATE utf8_unicode_ci;You can replace ‘wordpress_db’ with any name you prefer for your database. Next, we need to create a MySQL user for WordPress and grant it access to the database. Run the following command to create a new user:
CREATE USER 'wp_user'@'localhost' IDENTIFIED BY 'your_secure_password';Replace ‘wp_user’ with your chosen username and ‘your_secure_password’ with a strong, unique password. Make sure to record this information, as you’ll need it during the WordPress setup process. To grant the new user full privileges on the WordPress database, use this command:
GRANT ALL PRIVILEGES ON wordpress_db.* TO 'wp_user'@'localhost';Ensure you replace ‘wordpress_db’ and ‘wp_user’ with the database and username you chose earlier. Finally, to apply these changes and exit MySQL, run these two commands in succession:
FLUSH PRIVILEGES;
exit;
These steps create a dedicated database and user for your WordPress installation, ensuring proper functionality and security.
Step 4 – Create a Virtual Host File in Apache
Apache’s virtual host functionality is a powerful feature that allows a single server to host multiple websites or applications, each with its own domain name. This concept is similar to NGINX’s server blocks.
In this section, we’ll set up a virtual host for our WordPress site, using ‘runcloud-example.com’ as our domain name. Remember to replace this with your actual domain throughout the process.
First, let’s create the necessary directory structure and set the appropriate permissions by executing the following commands:
sudo mkdir -p /var/www/runcloud-example.com
sudo chown -R $USER:$USER /var/www/runcloud-example.com
Next, we’ll create and configure the Apache virtual host file and edit its contents by running the following command:
sudo nano /etc/apache2/sites-available/runcloud-example.com.confNext, you need to paste the following configuration in the new file and replace ‘runcloud-example.com’ with your domain:
<VirtualHost *:80>
    ServerName runcloud-example.com
    ServerAlias www.runcloud-example.com
    ServerAdmin webmaster@localhost
    DocumentRoot /var/www/runcloud-example.com
    ErrorLog ${APACHE_LOG_DIR}/error.log
    CustomLog ${APACHE_LOG_DIR}/access.log combined
</VirtualHost>
<Directory /var/www/runcloud-example.com/>
    AllowOverride All
</Directory>
After editing the configuration file, save and close it (press CTRL+X, then Y, then Enter). If you get stuck at any point, you should read our previous post, which explains how to edit files with nano.
Now, you need to enable the new virtual host and disable the default one by executing the following commands:
sudo a2dissite 000-default
sudo a2ensite runcloud-example.com
sudo a2enmod rewrite
sudo systemctl reload apache2
At this point, when you visit your server’s IP address or domain name in a web browser, you should see a directory listing or a default page, depending on the contents of your /var/www/runcloud-example.com directory. This indicates that your virtual host is correctly configured and Apache is serving content from the appropriate directory.
If you haven’t already, remember to update your domain’s DNS settings to point to your server’s IP address. This ensures that when someone visits your domain, they’re directed to your Apache server.
Step 5 – Installing WordPress
Once you have configured everything else, you can start downloading and setting up the WordPress files on your server. Run the following commands to download and extract the necessary files in the required directories:
   wget -O /tmp/wordpress.tar.gz https://wordpress.org/latest.tar.gz
   sudo tar -xzvf /tmp/wordpress.tar.gz -C /var/www/runcloud-example.com
   sudo chown -R www-data:www-data /var/www/runcloud-example.com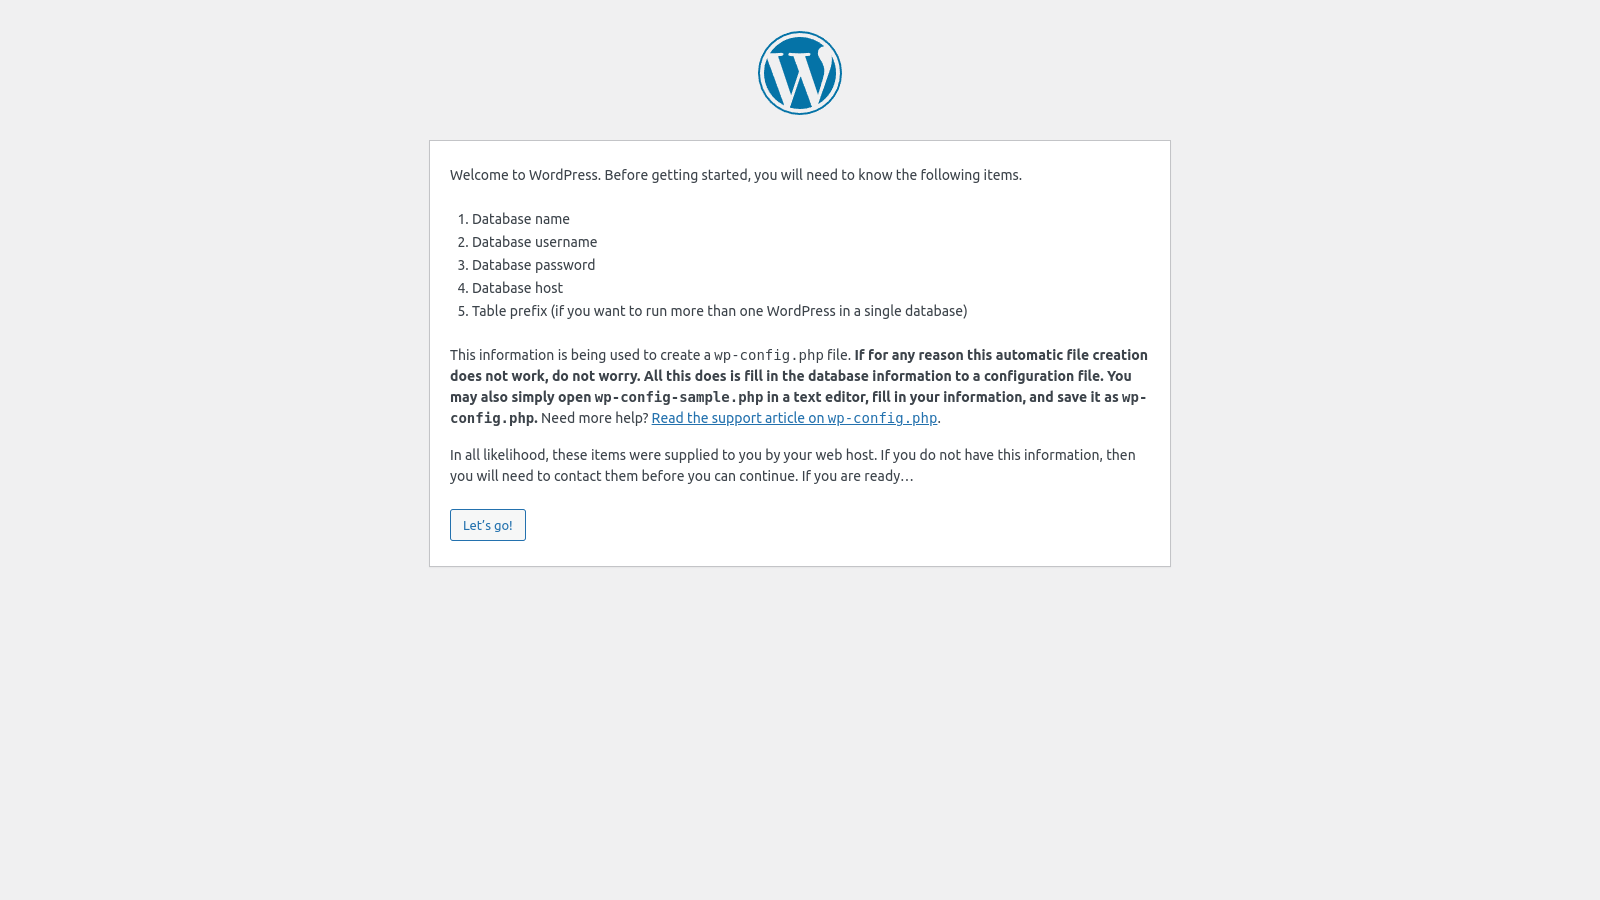
After executing these commands, you can complete the WordPress installation through your web browser. Navigate to your server’s IP address or domain name, and you’ll be greeted by the WordPress setup wizard. Here, you’ll need to enter the database information that was created earlier (database name, username, and password).
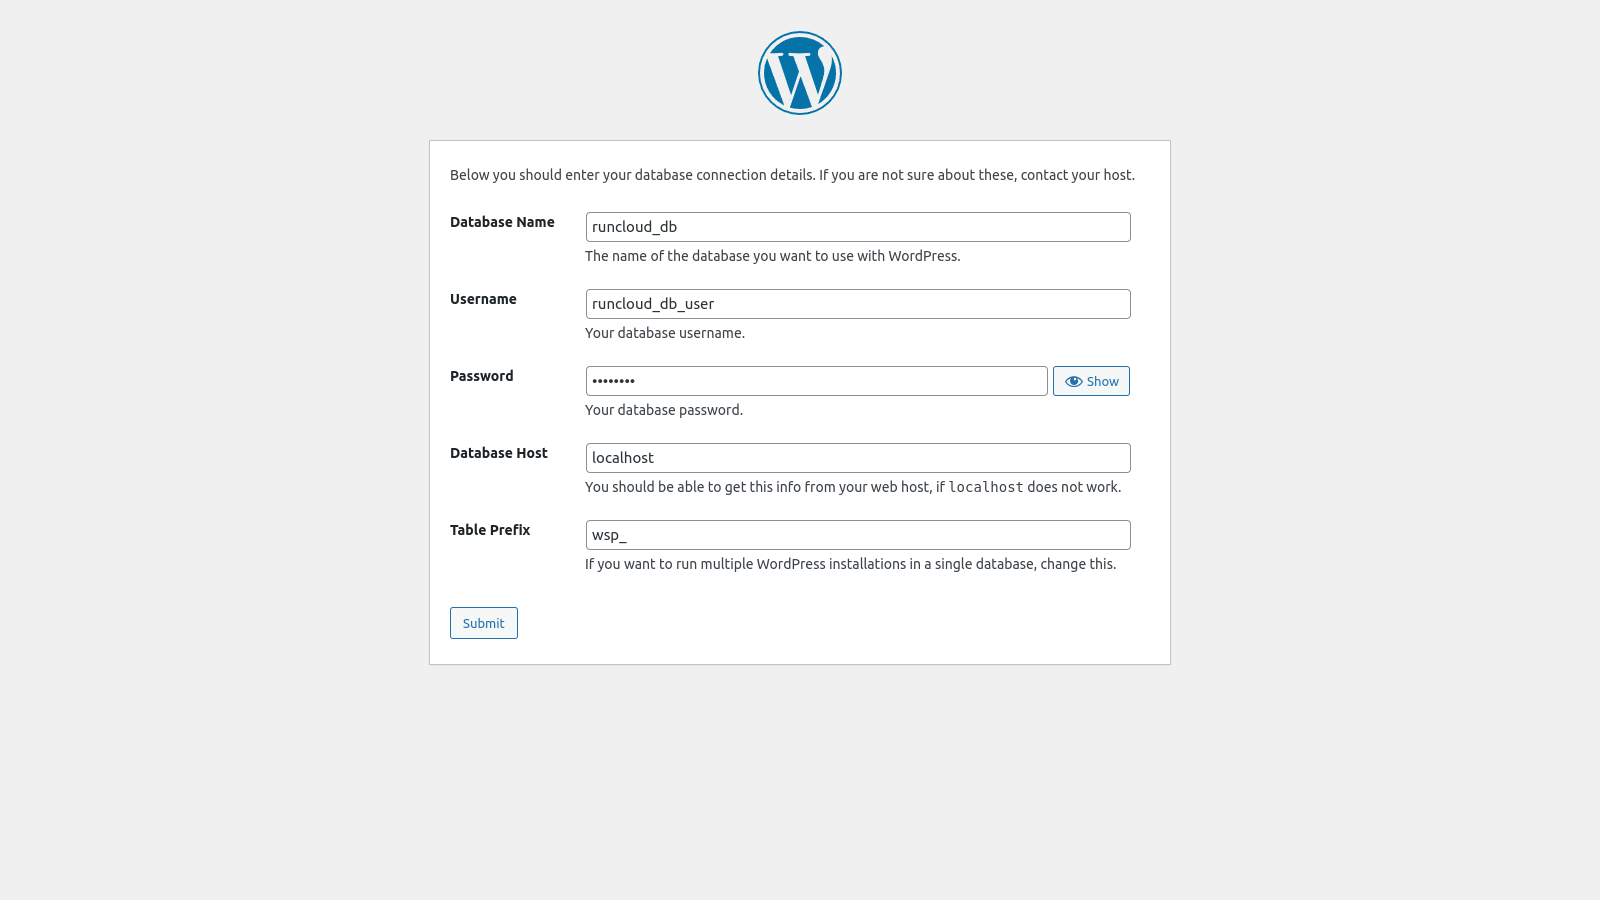
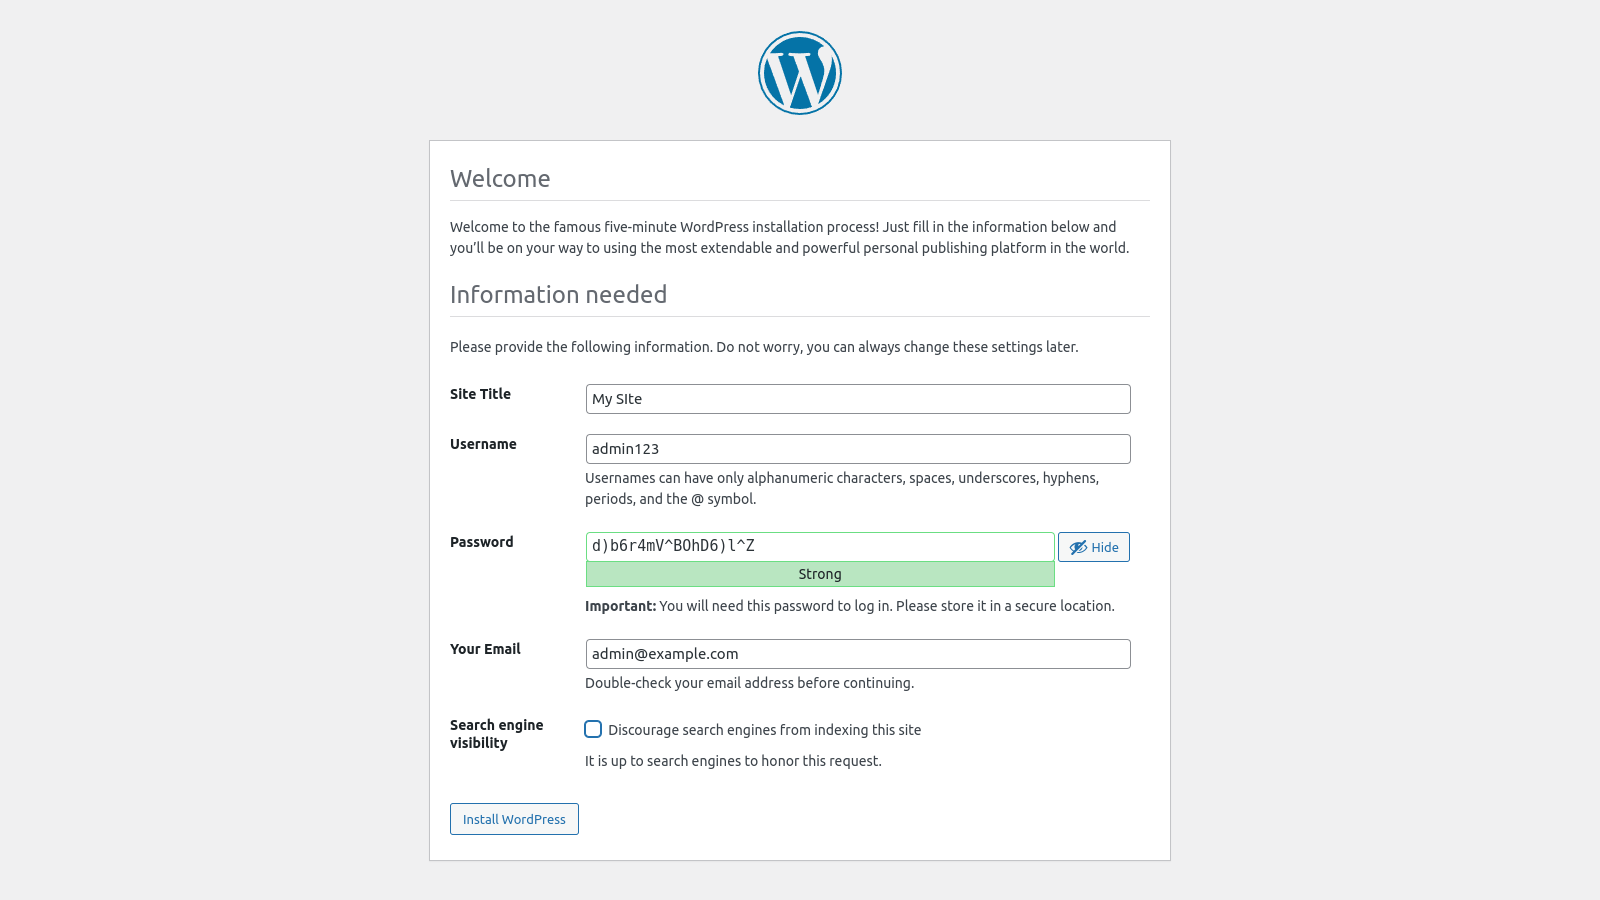
Once you’ve submitted this information, WordPress will create the necessary database tables. You’ll then be prompted to set up your site title, admin username, and password.
After this step, you will be able to log in to your new WordPress site and start customizing it to your needs.
While this process gives you a fully functional WordPress site, it’s important to note that manual installation can be complex and time-consuming, especially for those new to server management. It’s prone to errors and requires ongoing maintenance to keep the server secure and up-to-date.
This is why we recommend using RunCloud to manage your WordPress websites.
Effortless WordPress Setup with RunCloud
Setting up a WordPress website with RunCloud is refreshingly simple and straightforward. RunCloud’s user-friendly interface and automated processes take the complexity out of web hosting, allowing you to focus on what really matters – your content and your business.
Here’s how easy it is to get your WordPress site up and running with RunCloud:
- Enter Website Details: Simply provide a name for your new website. This name is for your reference within RunCloud and doesn’t have to be your final domain name.
- Set Site Title: Enter the title for your website. Don’t worry, you can always change this later from within WordPress.
- Create User Credentials: Choose a username and password for your WordPress admin account. These will be used to log in to your WordPress dashboard once the site is set up.
- Configure Domain: RunCloud provides you with two different options:
- Configure your own domain name if you have one ready to use.
- Opt for RunCloud’s test domain, which allows you to start developing your site immediately and switch to your own domain later.
- Deploy WordPress: With all details entered, simply click the “Deploy” button and let RunCloud work its magic.
And that’s it! In just a few minutes, RunCloud will have your WordPress site fully set up, secured, and ready for you to start customizing.
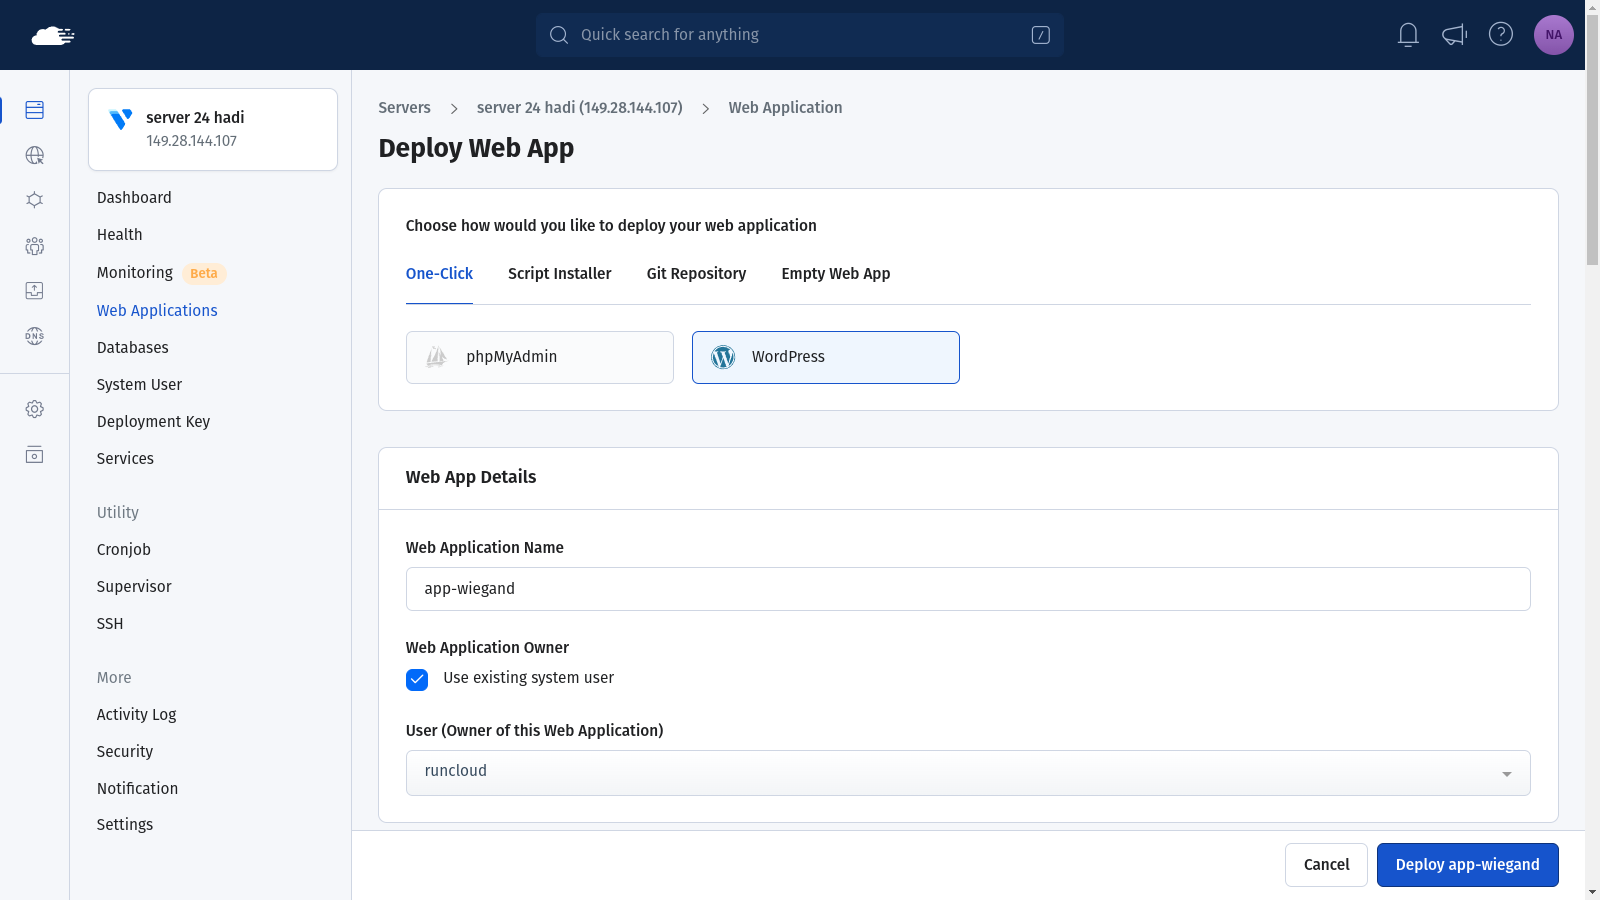
RunCloud’s streamlined process eliminates the need for complex server configurations, database setups, or file transfers. It’s perfect for developers who want to save time, agencies managing multiple client sites, or anyone who prefers to focus on creating great web content rather than wrestling with server management.
Moreover, RunCloud also provides features such as automatic updates, robust security measures, and easy scalability which not only simplifies the initial setup but also ensures your WordPress site remains secure with minimal effort on your part.
Final Thoughts: Simplify Your WordPress Management with RunCloud
In this guide, we’ve provided a comprehensive walkthrough for manually installing and configuring WordPress on an Ubuntu server with Apache. While this process offers valuable insights into the inner workings of web hosting, it’s clear that managing multiple websites across various servers can quickly become a complex and time-consuming task.
This is where RunCloud truly shines, offering a streamlined solution that simplifies website management without sacrificing control or performance. Here’s why RunCloud is the ideal choice for both novice and experienced web developers:
- Effortless Multi-Site Management – easily oversee multiple WordPress websites from a single, intuitive dashboard.
- Enhanced Security – benefit from automated firewall configuration and updates to keep your sites protected.
- Automated Backups – ensure your data is always safe with scheduled, hassle-free backups.
- WordPress Staging Environments – test changes and updates in a safe environment before pushing them live.
- Integrated DNS Management – simplify your workflow by managing your domains directly within the RunCloud interface.
- Versatility Beyond WordPress – seamlessly works with other popular applications such as Nextcloud, Ghost CMS, WHMCS, Laravel, and more.
- Performance Optimization – leverage built-in caching and optimization tools to keep your sites running at peak performance.
While the manual process we’ve outlined provides a solid foundation for understanding WordPress hosting, RunCloud automates this knowledge, allowing you to focus on what truly matters – creating and managing outstanding websites.
Whether you’re a solo developer, part of an agency, or managing enterprise-level websites, RunCloud offers the tools and simplicity you need to succeed.
Start using RunCloud today!
Posts you may like
Server Management
RunCloud Team•Mar 04, 2018•3 min readRunCloud API Released, MariaDB 10.2, Change IP Address FeatureRunCloud developers are always working hard to bring you new and better features. Today, we are happy to announce that the RunCloud API is now available for everyone! Another new feature added today is the ability to reconnect a RunCloud-managed server to the RunCloud Dashboard after its IP address has changed. You can do this …
Server Management
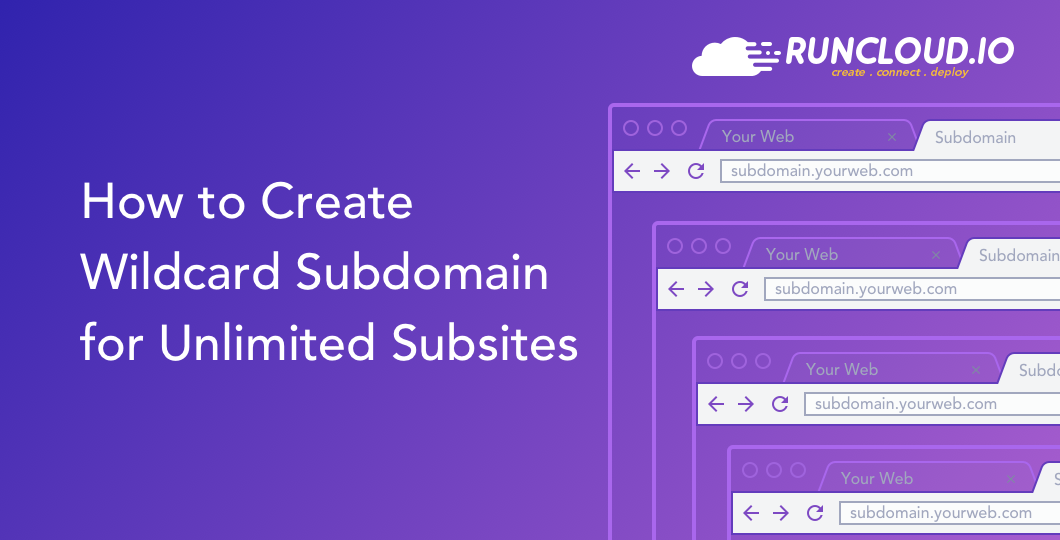
RunCloud Team•Oct 17, 2018•2 min readHow to Create Wildcard Subdomain for Unlimited SubsitesWhat is Wildcard subdomain Wildcard subdomain is a wildcard (catch-all) DNS record that will match request for non-existent subdomains. It is specified by a “*” as part of the domain name, example: *.yourdomain.com. With wildcard subdomain setup, you do not need to create a DNS record for each subdomain. Example: unlimited subdomain for WordPress multisite …

Server Management
RunCloud Team•Jun 22, 2024•7 min readBest 9 htop Alternatives for Linux, Mac & Windows in 2024When it comes to monitoring system resources on Linux, htop has been the go-to tool for many administrators and developers alike. Its simple interface and real-time metrics have made it a staple in the toolkit of those who prefer a comprehensive overview of their system’s performance. You might already know about htop, a great tool …
Server Management
RunCloud Team•Sep 04, 2023•5 min readHow To Install & Set Up FreeScout On Your Personal ServerIf you’re looking for a free and open-source solution to manage your customers, you might want to check out FreeScout. FreeScout is a web-based customer support system that lets you manage your email conversations with your clients and customers. You can also add modules for live chat, knowledge base, reports, and more. The official Wiki …

Server Management
RunCloud Team•Aug 13, 2024•6 min readHow to Deploy Next.js on a VPS Server (Step-by-Step Guide)You might know how to build a Next.js application, but do you know how to deploy it on a server? If your answer is no, then you’ve come to the right place. Next.js allows you to build a fast website, but the big question is: where to deploy your Next.js app? There are lots of …

Server Management
RunCloud Team•Mar 08, 2024•5 min readHow To Host Matomo Analytics On A RunCloud ServerIf you answered ‘Yes!’ to either of these questions, then you’re in the right place. Matomo is a free and open source web analytics platform that gives you insights into your website’s visitors, behavior, and conversions. In this post, we will show you how to host Matomo analytics on a RunCloud server and enjoy the …
© 2024 RunCloud Sdn Bhd


