Creating a WordPress staging site is a vital way to test out changes to a website without risking any impact on your live site.
Whether you’re making changes to your theme, testing out a new plugin or configuration, or adding custom code, it is extremely easy for unexpected conflicts or misconfigurations to wreak havoc on a website, which can seriously impact your users’ experience.
Creating a copy of your website and running it in a testing environment is a safe way to test any changes you want to make to your live site without risking anything.
This tutorial will walk you through creating and using the One-Click WordPress staging site functionality on RunCloud without installing unnecessary WordPress plugins.
Let’s get started!
Table of Contents
Creating a WordPress Staging Site
This section will explain how to create a WordPress Staging site without installing any additional WordPress plugins. Before you get started, make sure that you have a WordPress website connected to your RunCloud account.
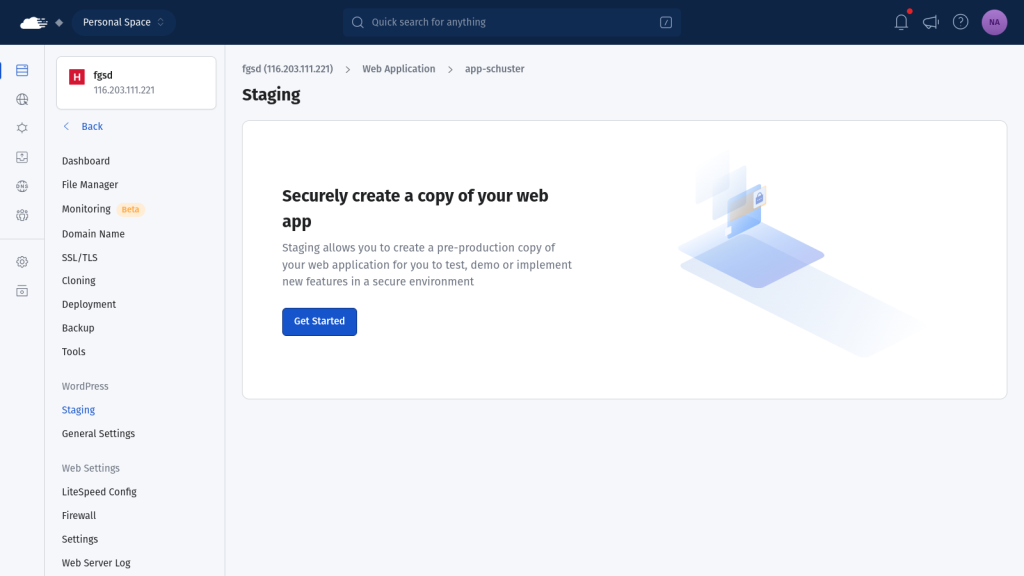
Open your RunCloud dashboard and navigate to the WordPress website where you want to create a staging environment. On this screen, click the “Staging” button in the left menu, which will bring up a new screen.
Click on “Get Started” to proceed with the process.
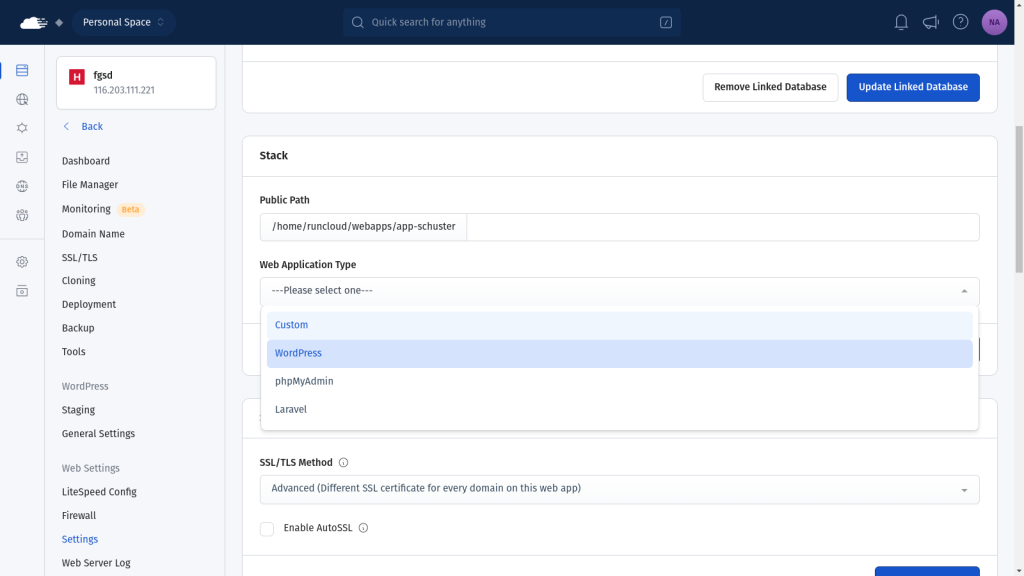
If you have installed WordPress manually, you might not see the staging button in the left menu. In this case, go to your web application’s “Settings” page and scroll to the “Stack” sub-section. Click on the “Web Application Type” dropdown menu and select WordPress.
Once you save the changes and refresh the page, you will see the staging button in the left menu.
Step 2: Creating Your WordPress Staging Site
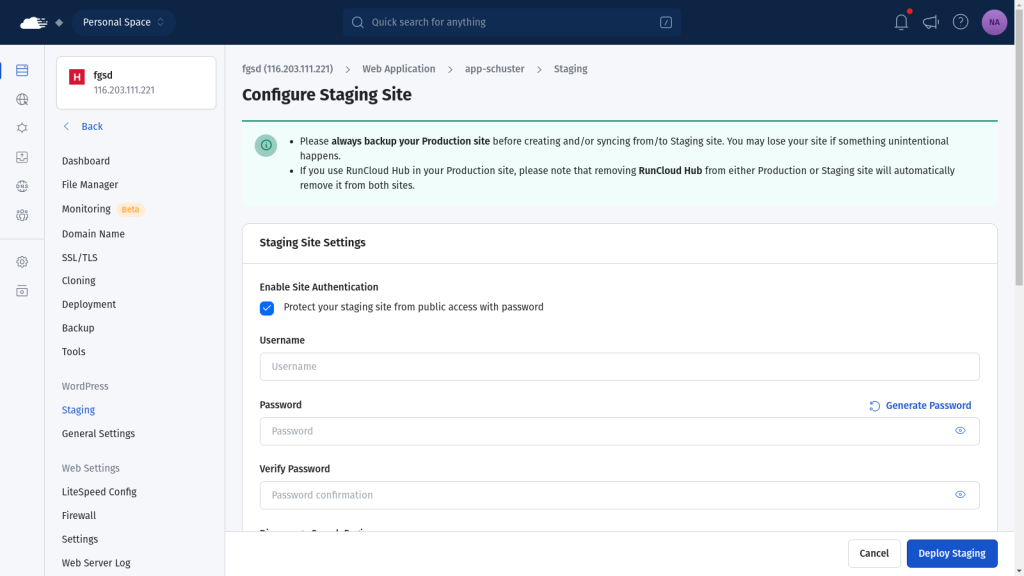
In the Staging menu, you’ll see several options to create and configure your staging site.
First, you need to configure if you want to enable HTTP authentication for this site. Since the staging site is not meant for the public, enabling this functionality is a good idea.
Check the box next to Site Authentication and enter a username and password in the provided fields to enable this functionality.
Next, you must choose between using RunCloud’s free domain or your own domain/subdomain. RunCloud’s free domain is faster to set up and instantly accessible. A custom domain requires additional DNS configuration and propagation time. No matter what you choose, you always have the option to change your domain name later.
Finally, you should remember that search engines penalize sites if they post duplicate content. Since the staging site is a clone of the original site, enabling “Discourage Search Engine” is always recommended to prevent search engines from indexing your staging site.
Once you have configured the required settings, click the “Deploy Staging” button to start the creation process.
Step 3: Accessing Your WordPress Staging Site
Once the staging site is created, you’ll see a new web application in your RunCloud dashboard. In the following screenshot, we can see that the server contains two applications, and the staging site has a special ‘copy’ symbol next to its name to indicate that it is a staging site.

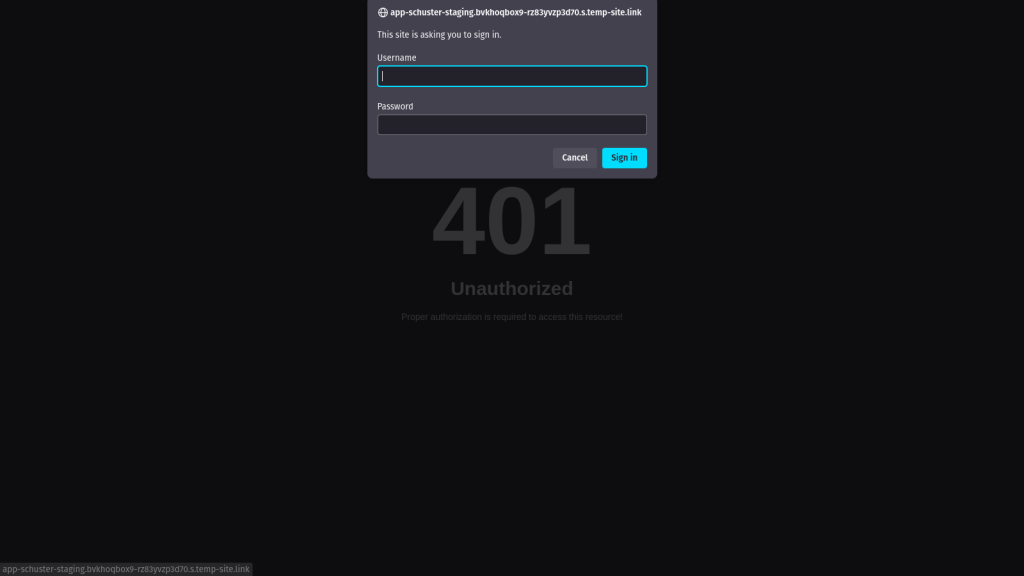
Click on the URL next to your site name to visit your staging site. If you enabled Site Authentication, enter the username and password you configured in the previous step. If a user doesn’t know the username and password, they will be shown a 401 unauthorized error message.
Step 4: Managing Your WordPress Staging Site
Once you are logged in to your staging site, you can treat it as a standard web application. You can change settings, test new themes, try out plugins, and make any other changes without affecting your production site.
If something goes wrong, you can either revert your changes by moving data from the production site to the staging site (as explained below) or delete the staging site and create a fresh copy with only a few clicks.
Step 5: Syncing Between WordPress Staging and Production
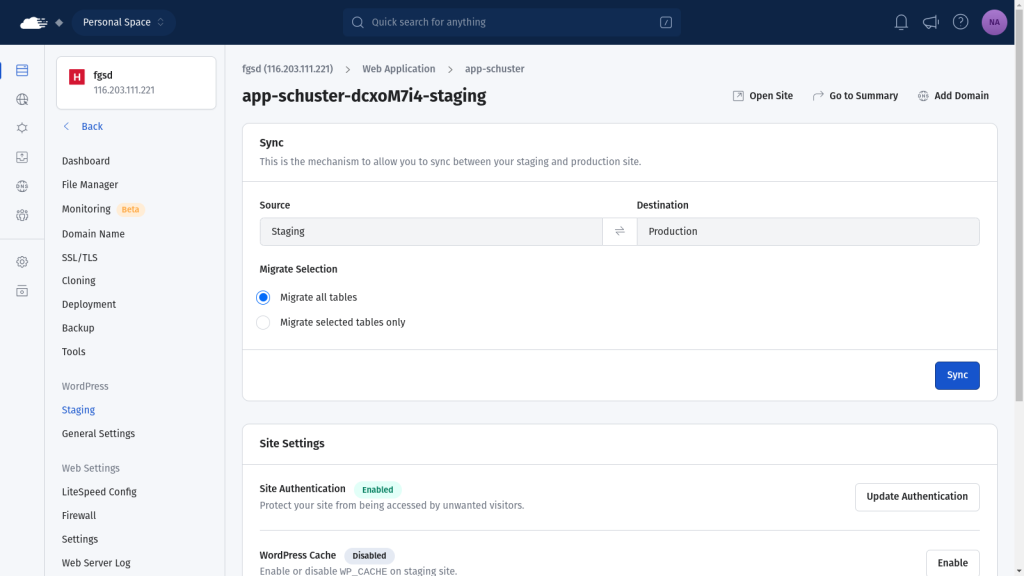
After you have tested the changes on your staging site, you can directly apply them on your live site without manually implementing every change. RunCloud provides a special Sync functionality that allows you to move data from the staging site to the production site without any headaches.
Here’s how you can move data between sites:
- Navigate to the Sync/Merge options in the Staging menu.
- Choose the sync direction: Click the arrows to flip the transfer direction.
- Production to Staging: Update staging with the latest production data.
- Staging to Production: Apply tested changes to your live site.
- Select sync options:
- Full sync
- Migrate selected database tables only
- Click the “Sync” button and confirm your choices in the popup.
Final Thoughts on WordPress Staging
In this post, we have highlighted the importance of creating a staging environment for your business-critical websites and shared steps for creating a staging environment for WordPress.
Creating and managing multiple sites, each with its own staging environment, can be challenging, but it doesn’t have to be. RunCloud offers a comprehensive solution for managing cloud servers with ease and efficiency.
RunCloud’s user-friendly interface makes it a powerful tool for developers looking to streamline their server management processes. Whether managing a single site or multiple projects, RunCloud provides the tools you need to deploy, manage, and scale your web applications confidently.
Try RunCloud today and experience the ease of creating and managing staging environments.