Did you see cool wallpapers like the one below on communities and wallpaper websites?
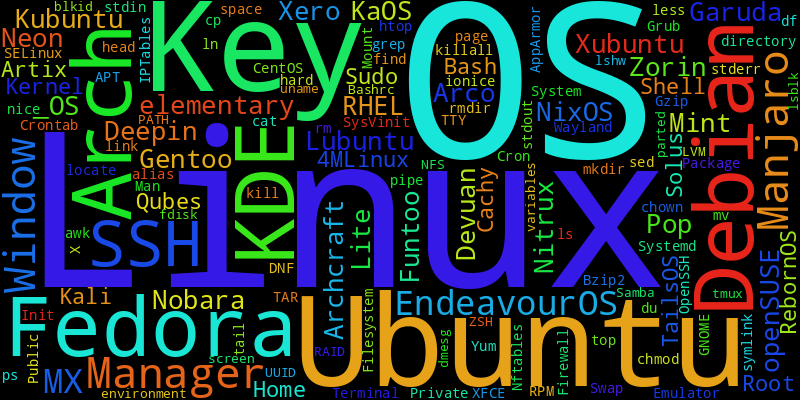
I am sure many of you have seen such wallpapers.
In this tutorial, I will show how you can make such wallpapers and images in a very short time. Trust me, you don’t need to be a Photoshop or GIMP Pro to do this!
Table of Contents
Wordcloud, the wordcloud generator
Wordcloud is a Python program for creating word cloud images. The project has been there for a long time and has been used in many other projects as dependencies.
Thanks to the developers of wordcloud, we can now generate our own images.
By the way, if you are new to the Linux terminal and command line, check out our tutorial series which is written for the absolute beginners.

Install wordcloud
Wordcloud is available in default repositories of Ubuntu. To install it, use the command:
sudo apt install python3-wordcloud
🚧
This will install several packages with some considerable disk spaces. So, keep caution, a large download size is expected.
Wordcloud is available to install as a Python package. So you can install it either using pip or pipx. I prefer pipx to avoid some possible headaches. Once pipx is installed, install wordcloud using the command:
pipx install wordcloud
That’s it. You have installed wordcloud, and it can be used with the command wordcloud_cli.
📋
Either way, ensure that matplotlib, pillow, and numpy are installed. These are also available in the Ubuntu repos by the names python3-matplotlib, and python3-numpy.
Using wordcloud
Wordcloud offers several options and features that you can use to create unique images. Let’s see some cool items!
📋
Before creating all wordcloud images, you need to have some collection of words. In usual case, you can store words in a text file. Other cases will be described below.
Create a simple image with words
Let’s say you have 100 random words saved to a file called words.txt. To create an image from this file, use the command:
wordcloud_cli --text </path/to/words.txt> --imagefile wallpaper.png
This will create a 400×200 PNG with the given words.
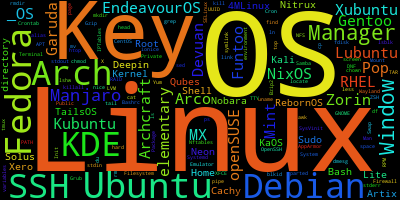
Create an image with custom dimensions
Now, imagine you have created a text file with hundreds of words using ChatGPT or some AI clients. In this case, a higher resolution image will do better. Let’s see how to create a bigger image!
wordcloud_cli --text </path/to/words.txt> --width 1920 --height 1080 --imagefile highres.png
Now, it will create a high-resolution image (1920×1080 in this case).
Use a custom font
By default, wordcloud uses DroidSansMono font. If you need to create an image with a custom font, use the --fontfile option.
📋
You should specify the font file location to the --fontfile option. So you should have the required file in hand.
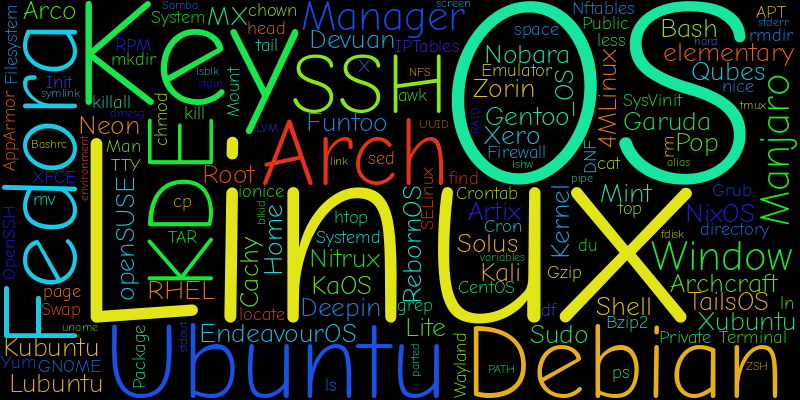
I am going to use the Comic Neue font to create the image. You can download fonts from Google Fonts website.
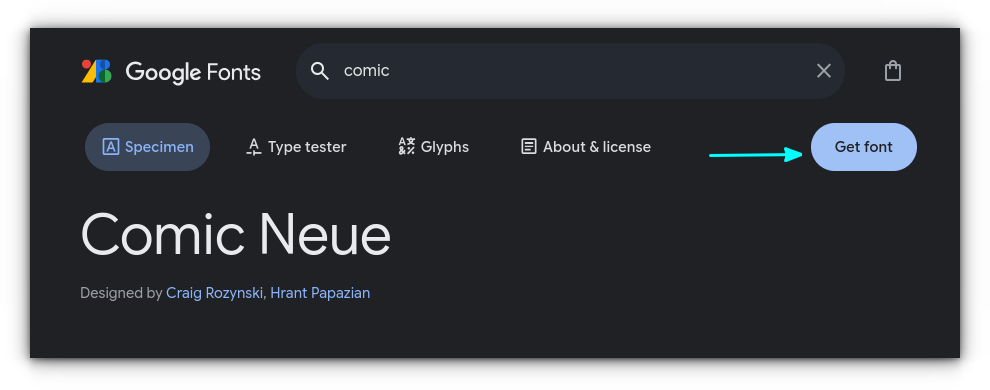
Extract the file and make the particular font file in an easily accessible location.
Now, run the command:
wordcloud_cli --text </path/to/words.txt> --width 800 --height 400 --fontfile </path/to/font/file> --imagefile customfont.png
Now, you have a wordcloud image with a custom font!
Custom background color
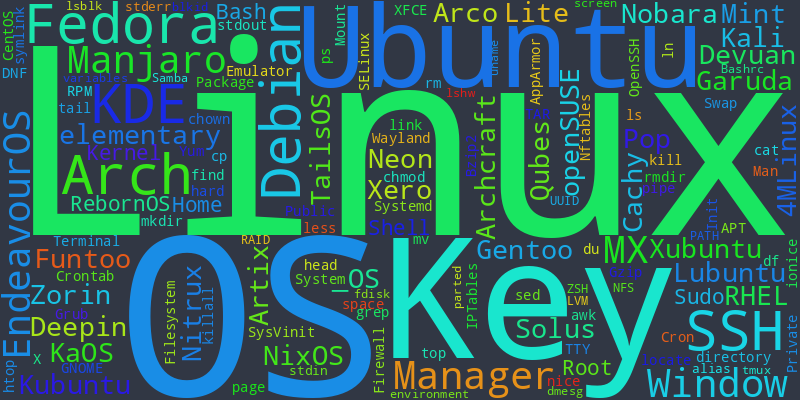
Not interested in the black background? Don’t worry, you can apply a different color.
📋
I am using a Nord type background color, so use the command:
wordcloud_cli --text </path/to/words.txt> --background '#313744' --imagefile nord-background.png
Work with mask images
If you want to print images inside a particular frame, you can do that in wordcloud as well.
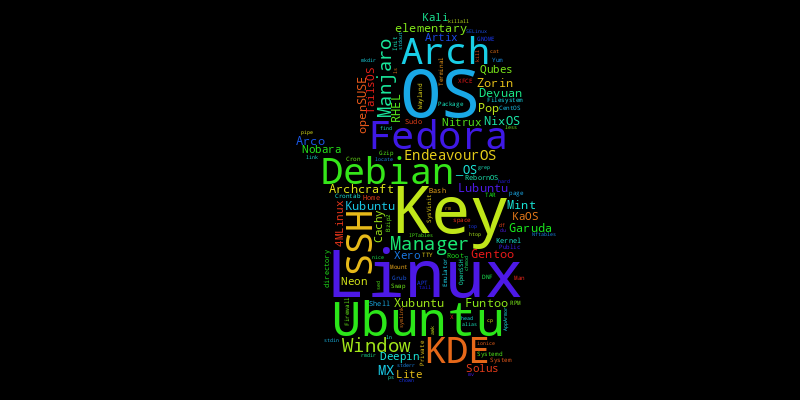
First, create a black image of the frame that you want to use. Here, I am using a black penguin image as the frame.

Now, use the --mask option to get the masked image.
wordcloud_cli --text </path/to/words.txt> --mask </path/to/mask/image> --imagefile maskedimage.png
📋
Remember to make the mask image as wide as the required final image resolution.
Use prebuilt examples
The project page has several examples available. Click the button below to check those.
Here, you can click on a particular design and download the corresponding Python script.
Once the script is downloaded, you can rename your words file as mentioned in the script. If you are using the mask, rename the mask file also according to the script.
For example, I am using this example, where the words file is called alice.txt and the mask file is called alice_mask.png. So, I will rename my words.txt as alice.txt and mask image as alice_mask.png. This way it is easier than renaming variables and items inside the script.
Now, I will use the command:
python3 masked.py
This will create an image called alice.png, the result I require.

Possible image ideas
You can create several images unique to your system. Let’s see some examples:
Installed packages
If you are using Debian/Ubuntu-based distributions, you can list the installed packages of your system and then make a text file of it.
dpkg --get-selections > packages.txt
Now, use this packages.txt to create a wallpaper that lists all the package names you installed on your system.
Your bash command history 😉
If you are ok with exposing your bash history, save all the commands to a text file and then use this text to create an image.
history > my_bash_history.txt
Other ideas
- You can list the names of some programs that you cannot forget and then use it to create a wallpaper.
- Use AI tools to create random word lists.
- All Linux distro names.
Wrapping Up
Even though wordcloud offers command line options for many tasks, this is used as a dependency for other Python projects. For that purpose, there are API references you can check.
One such project is Process-wallpaper. The project itself is a bit old, so it won’t automatically apply wallpaper. But it does work creating a wallpaper based on the most resource-intensive processes presently running on your system.
On a similar note, you may want to use this handy CLI tool to convert images into ASCII art:
